Pre-Ground Coffee Optimization: Realistic Techniques
Most espresso advice assumes you have a quality grinder. But many home baristas are stuck with pre-ground coffee or budget grinders due to cost, space, or rental restrictions. This guide provides realistic optimization techniques for these constraints, focusing on what actually works rather than what's ideal.
Why Pre-Ground Coffee Is Challenging
Pre-ground coffee loses freshness rapidly. Ground coffee exposes more surface area to oxygen, causing flavor degradation within hours. Additionally, pre-ground coffee has inconsistent particle size, making extraction unpredictable. Entry-level grinders produce similar inconsistency due to burr quality.
Despite these challenges, you can pull decent shots with pre-ground coffee by focusing on variables you can control: dose, tamping, water temperature, and extraction time.
Optimization Strategy 1: Maximize Freshness
Buy Pre-Ground Coffee Strategically
Buy Small Quantities Frequently
Instead of buying 1kg bags, buy 250g bags and purchase more frequently. Fresh pre-ground coffee (ground within 1–2 days) performs significantly better than week-old pre-ground.
Check Grind Dates
Ask your coffee shop when the coffee was ground. Avoid pre-ground coffee older than 3 days. If grind date isn't available, ask them to grind fresh beans for you.
Store Properly
Keep pre-ground coffee in an airtight container away from light and heat. Store in a cool, dark cupboard (not the fridge, which introduces moisture). Use within 3–5 days of grinding.
Consider Freezing
Freeze pre-ground coffee in airtight containers if you can't use it within 3–5 days. Thaw completely before opening to avoid condensation. Frozen pre-ground coffee stays fresher longer than room-temperature storage.
Optimization Strategy 2: Standardize Preparation
Use Precise Measurements
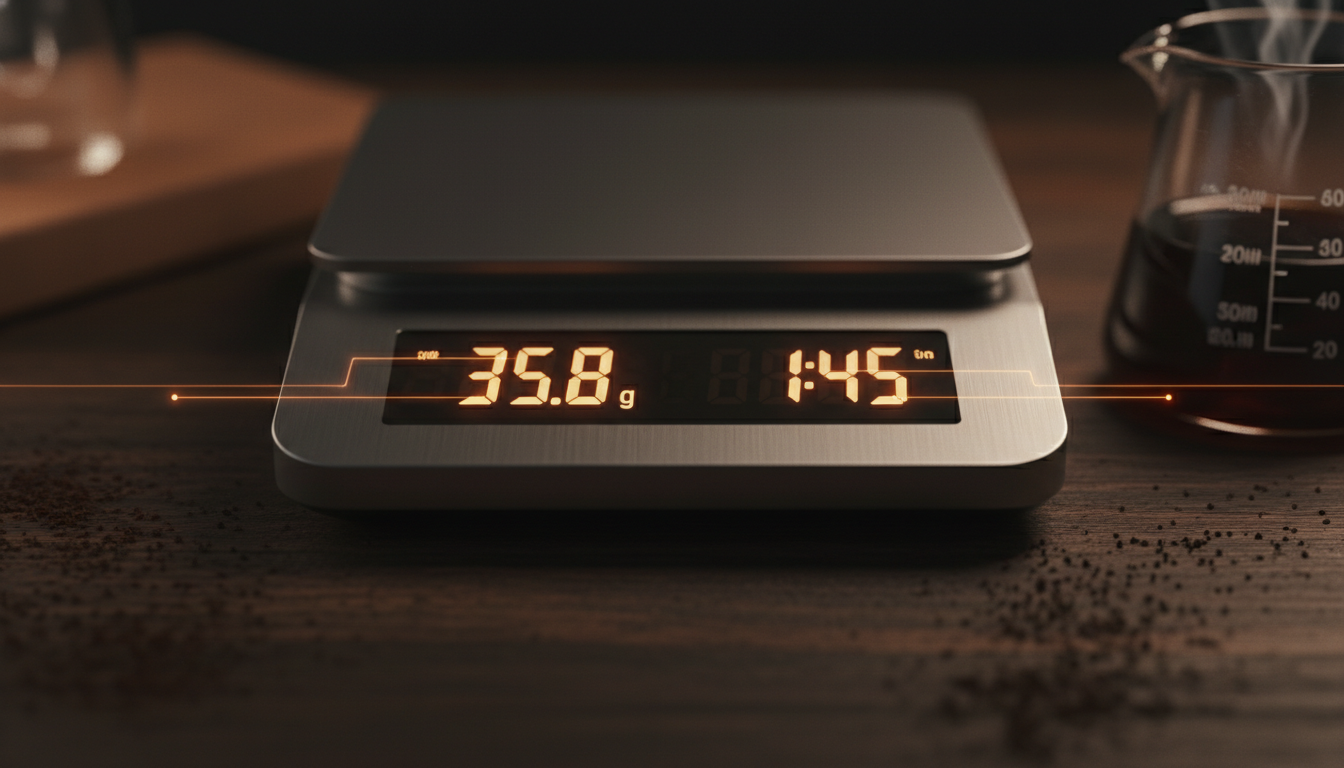
Weigh Your Dose
Use a scale to measure exactly 18–20g of pre-ground coffee (adjust for your basket size). Consistency in dose is critical when you can't control grind size.
Standardize Tamping
Apply consistent, firm pressure every time. Use a tamper with a handle that guides angle. Aim for approximately 30 lbs (14 kg) of pressure applied perpendicular to the basket.
Measure Extraction Time
Time every shot from when water begins flowing until it finishes. Target 25–30 seconds. Record extraction times to identify patterns and consistency issues.
Use WDT (Weiss Distribution Technique)
Before tamping, gently stir the pre-ground coffee with a needle or thin tool to break up clumps and distribute grounds evenly. This improves extraction consistency despite inconsistent grind size.
Optimization Strategy 3: Control Water Temperature
Optimize Machine Temperature
Allow Proper Heat-Up
Allow your machine 15–20 minutes to stabilize temperature before pulling shots. Temperature fluctuation is common in budget machines, so longer heat-up helps.
Implement Temperature Surfing
Pull shots at consistent points in the heat cycle. For example, always pull 30 seconds after the heating light turns off. This creates more consistent water temperature between shots.
Backflush Before Shots
If your machine has a 3-way solenoid valve, run water through the group head for 3–5 seconds before pulling a shot. This stabilizes group head temperature and removes old coffee oils.
Pull Multiple Shots
The second and third shots are often more consistent than the first because the machine has stabilized. If possible, pull a practice shot before your main shot.
Realistic Expectations with Pre-Ground Coffee
Be honest about what's achievable with pre-ground coffee and budget equipment:
What You CAN Achieve:
- Drinkable espresso that's better than instant coffee
- Consistent shots with standardized preparation
- Balanced flavor with proper water temperature
- Acceptable body and crema with fresh pre-ground coffee
What You CANNOT Achieve:
- Café-quality espresso (this requires a grinder)
- Precise grind adjustment for different roasts
- Consistent results across multiple bags
- Complex flavor profiles (pre-ground coffee loses complexity quickly)
When to Upgrade Your Equipment
Consider Upgrading When:
- You're consistently frustrated with shot quality
- You've optimized pre-ground coffee techniques and want better results
- You can afford a basic burr grinder ($100–200)
- You have space for a grinder in your kitchen
Budget Grinder Recommendations:
- Hand grinders ($30–80): Good for occasional use, requires manual grinding
- Entry-level burr grinders ($100–150): Baratza Encore, Wilfa Svart Nior
- Mid-range burr grinders ($150–300): Baratza Sette, Wilfa Uniform
Related Guides
Beginner Grinder Guide
Learn about grinder types and how to choose one when you're ready to upgrade.
Shot Extraction Troubleshooting
Diagnose and fix extraction problems with your pre-ground coffee shots.
Rapid Dialing-In Protocol
Use systematic techniques to optimize your pre-ground coffee preparation.
Best Espresso Machines for Beginners
Find reliable machines that work well with pre-ground coffee.
Key Takeaways
- → Freshness is critical: Buy small quantities of pre-ground coffee ground within 1–2 days and use within 3–5 days.
- → Standardize everything: Use precise dose, consistent tamping, WDT, and measured extraction time to compensate for grind inconsistency.
- → Control temperature: Allow proper heat-up, implement temperature surfing, and backflush to maintain consistent water temperature.
- → Set realistic expectations: Pre-ground coffee produces drinkable espresso, not café-quality shots. Upgrade when you're ready for better results.
- → Plan to upgrade: Save for a basic burr grinder ($100–200) when budget allows. A grinder is the single best upgrade for espresso quality.