
GUIDE
How to Calibrate Espresso Machine (Complete Guide)
Comprehensive technical guide covering all calibration aspects with detailed procedures and troubleshooting.
⏱ 15 min 📊 Advanced
READ GUIDE →
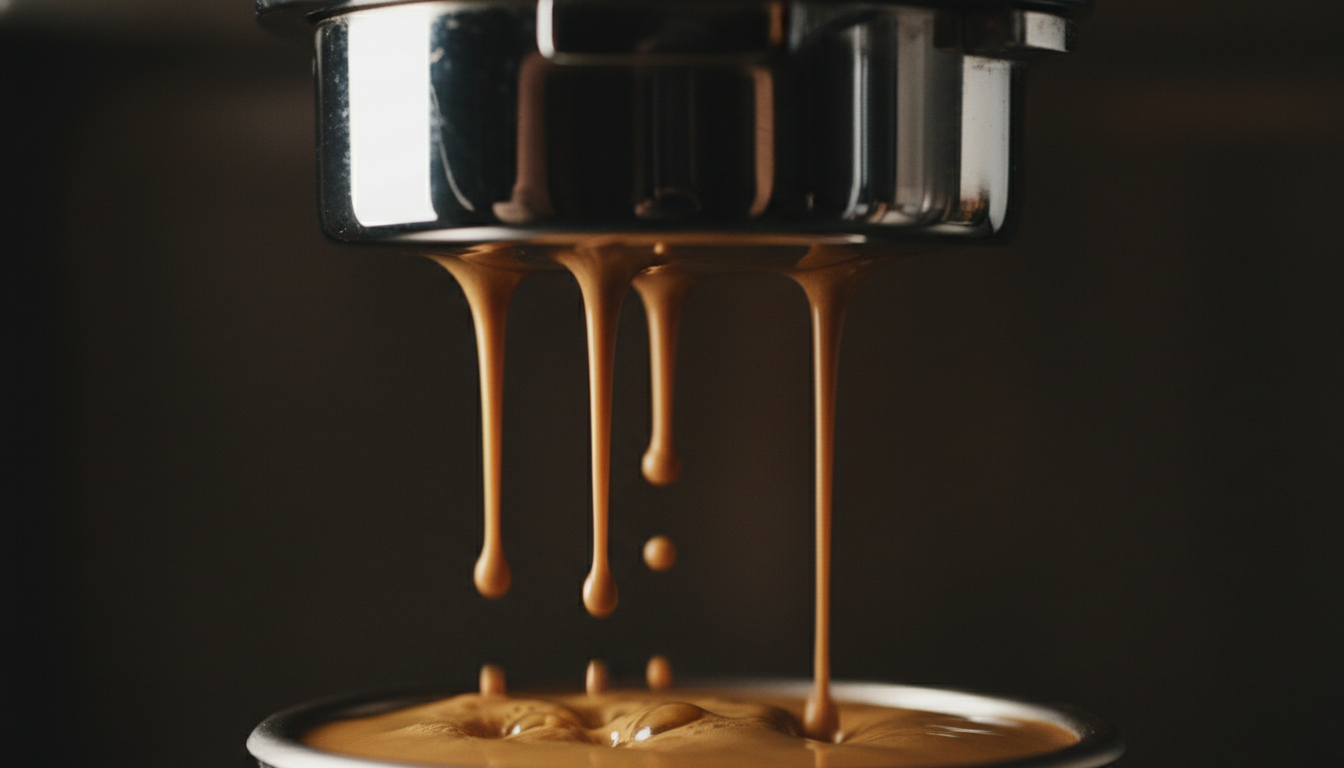
Pressure, Temperature & Timing Guide for perfect espresso extraction
Target Pressure
Brew Temperature
Shot Time
Brew Ratio
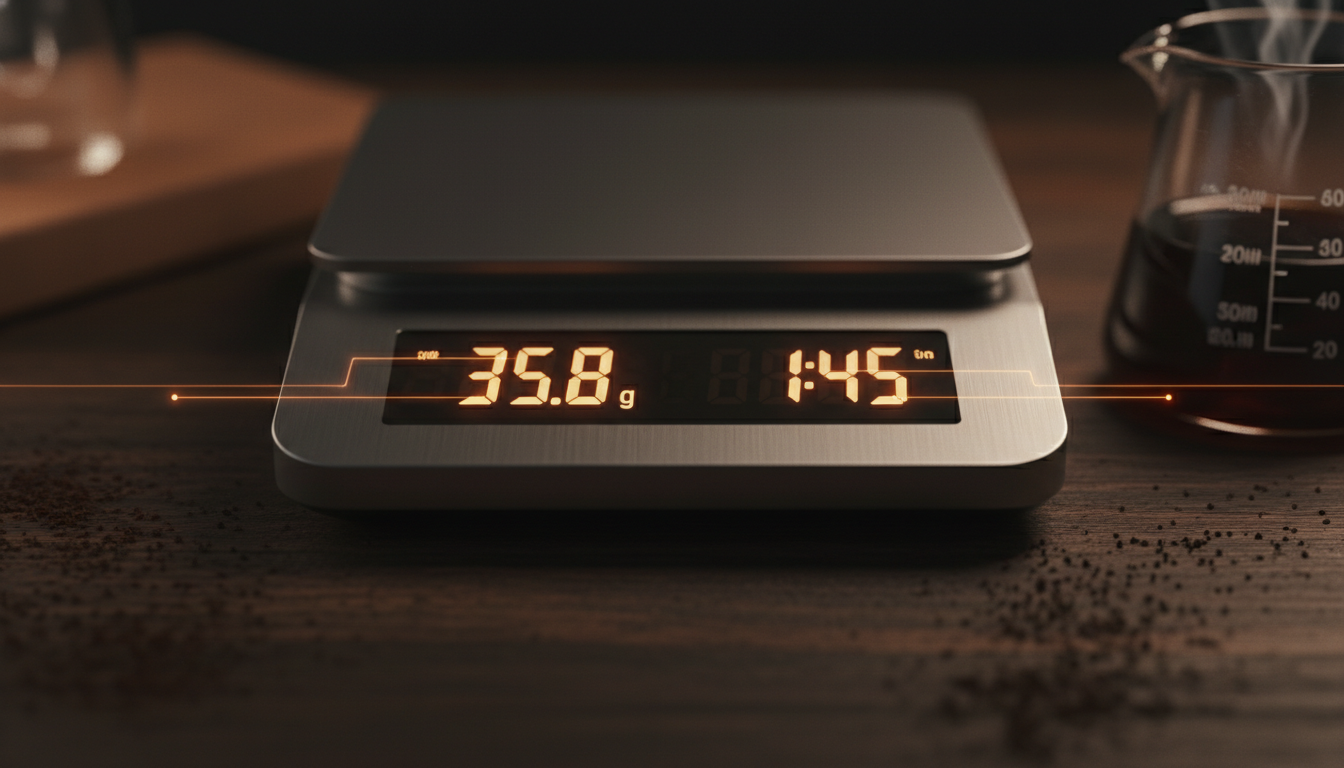
Scale Precision
To calibrate an espresso machine: (1) Adjust OPV to 9 bar using a pressure gauge portafilter, (2) Set PID temperature to 93°C (199°F) for medium roasts, (3) Calibrate grinder for 25-30 second extractions at 1:2 ratio, (4) Verify scale accuracy weekly, (5) Program shot timer for consistency. Calibrate every 3-6 months or when shot quality degrades.
Proper calibration ensures your espresso machine produces consistent, café-quality shots. Calibration involves adjusting five key parameters: pressure (9 bar), temperature (90-96°C), shot timing (25-30 seconds), grind size, and scale accuracy. Without regular calibration, even premium machines produce inconsistent results.
Each calibration type serves a specific purpose. Pressure calibration ensures optimal extraction force, while temperature stability controls extraction rate. Together, they form the foundation of repeatable espresso preparation.
✓ Why Calibration Matters:
Always unplug the machine before making internal adjustments. Espresso machines contain high-voltage components that can cause serious injury or death. Wait 5 minutes after unplugging for capacitors to discharge.
Boilers operate under pressure (1-3 bar steam pressure). Never open the boiler or steam valve while the machine is hot or pressurized. Allow complete cooldown (2+ hours) before any internal work.
Group heads, boilers, and steam wands reach temperatures above 100°C (212°F). Use protective gloves when working on hot components. Thermal burns can occur instantly on contact.
Never exceed 11 bar pressure. Excessive pressure can damage the pump, rupture gaskets, or cause dangerous component failure. Stay within 8.5-9.5 bar range. Always use a pressure gauge when adjusting.
If you're uncomfortable with electrical or pressure adjustments, hire a professional technician. DIY repairs may void your warranty. When in doubt, consult a qualified espresso machine technician.
Adjust OPV to achieve 9 bar extraction pressure at the group head
PID tuning for optimal brew temperature based on roast level
Program volumetric dosing and verify timer accuracy
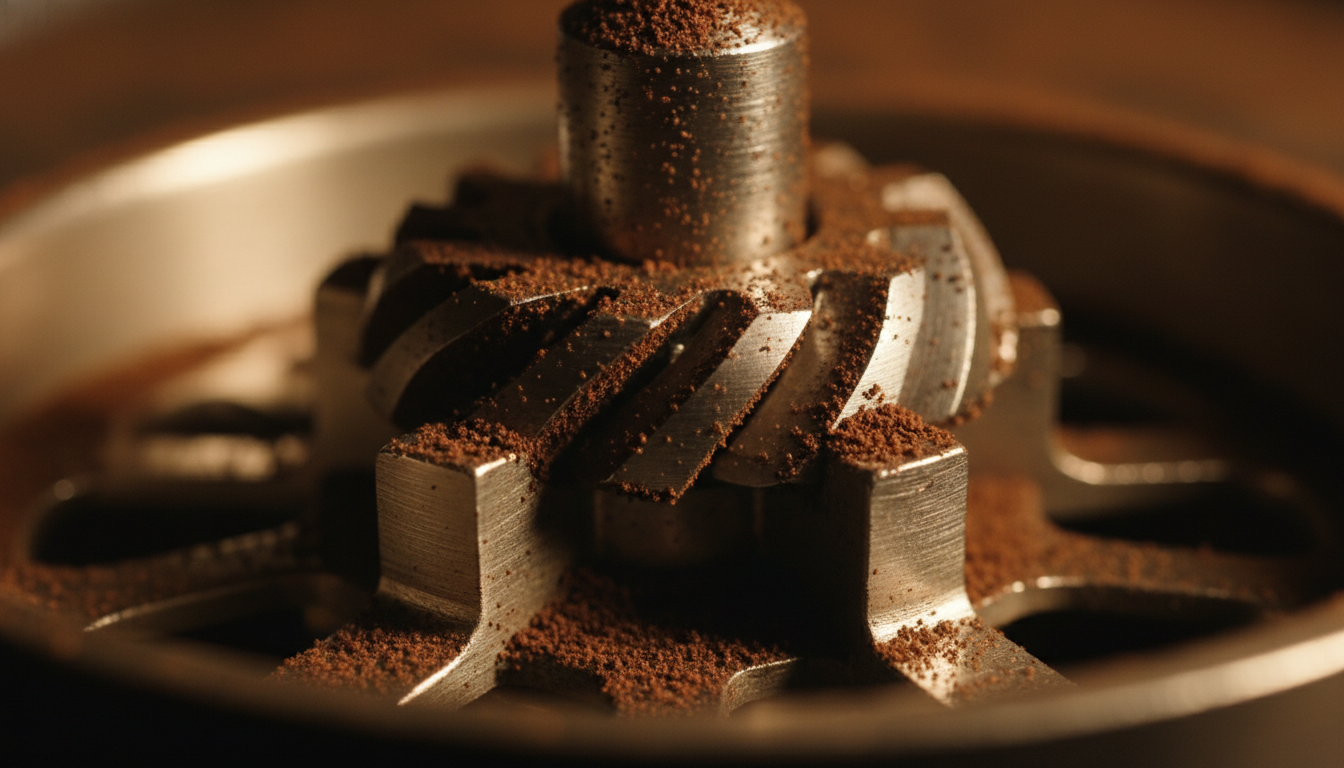
Dial in grinder for consistent extraction timing and flavor
Verify 0.1g accuracy using calibration weights
⚠️ Safety First: Read safety warnings above before proceeding. Unplug machine before internal adjustments.
Remove spout from portafilter and install pressure gauge adapter. Ensure tight connections to prevent leaks.
Place blind basket into portafilter. This blocks water flow to measure maximum pressure.
Lock portafilter into group head, activate pump. Wait 5-10 seconds for stabilization. Record reading (target: 9-10 bar).
UNPLUG MACHINE FIRST. Find OPV (usually near pump). Turn adjustment screw: clockwise to increase, counterclockwise to decrease. Make 1/4 turn adjustments only.
Remove blind basket, pull test shot. Pressure should read 8.5-9.5 bar during extraction. Document final setting.
Dark Roasts (190-198°F)
Medium Roasts (198-201°F)
Light Roasts (201-205°F)
Allow 30-45 minutes for thermal stability. Single boiler machines may need temperature surfing.
Insert thermocouple into empty portafilter or measure water exiting group head. Pull 3 shots, average readings.
Enter programming mode (varies by manufacturer). Common: hold SET + arrow keys. Check your manual.
Navigate to temperature setpoint. Adjust in 1°C (1.8°F) increments based on roast level recommendations above.
Wait 10-15 minutes after each adjustment. Re-measure to verify. Document final temperature setting.
Compare machine timer against smartphone stopwatch. Run 30-second test. Acceptable variance: ±0.5 seconds.
Configure pre-infusion: 3-5 seconds for standard espresso, 6-8 seconds for light roasts.
Set extraction time (25-30 seconds) or volume (36g from 18g dose). Pull test shots and measure actual output.
Follow manufacturer instructions to find true zero point. Back off slightly to prevent burr contact.
Use consistent dose: 18g for double shot. Weigh to 0.1g accuracy every time.
Start with medium grind. Record: grind setting, dose, yield, time. Target: 36g yield in 25-30 seconds.
Too fast (<22 sec): grind finer. Too slow (>35 sec): grind coarser. Make small adjustments (0.5-1 steps).
Once in 25-30 second range, taste. Sour: finer. Bitter: coarser. Aim for balanced, sweet flavor.
Use known weights: 10g, 50g, 100g, 200g calibration set. Alternative: US nickel = 5g.
Place on level surface. Turn on, wait for stabilization. Press 'Tare' to ensure 0.0g reading.
Place each weight on scale center. Record readings. Acceptable: ±0.1g. If exceeded, recalibrate.
Consult manual. Typically: hold button combination while powering on, or navigate settings menu.
Follow prompts. Usually involves placing specific weight (100g or 200g) when prompted. Scale adjusts internally.
| Situation | Action | Why |
|---|---|---|
| Machine is new (first 6 months) | Calibration | Components fresh; addresses normal break-in adjustments |
| Inconsistent shot timing | Calibration First | Usually grind or pressure calibration issue |
| No pressure at group head | Service Required | Likely pump failure or major blockage |
| Leaks from group head | Service Required | Gasket replacement needed; not calibration |
| Temperature won't reach target | Service Required | Possible heating element or thermostat failure |
| OPV adjustment has no effect | Service Required | OPV may be seized or damaged |
| Machine over 5 years old | Service Recommended | Components wear; professional inspection advised |
Safe to perform at home with proper tools and safety precautions:
Cost: $50-150 in tools (one-time) | Time: 1-2 hours
Requires technical expertise or special equipment:
Cost: $100-300 | Time: 1-3 days (service turnaround)
Comprehensive technical guide covering all calibration aspects with detailed procedures and troubleshooting.
Learn how to verify your pressure gauge readings and understand what they mean for extraction quality.
Detailed step-by-step guide for OPV adjustment with safety precautions and troubleshooting tips.
Proper calibration transforms good coffee into exceptional espresso. Take the time to dial in your machine correctly.
View Complete Calibration Guide