
TECHNICAL
Espresso Machine Pressure Gauge Accuracy
Learn how to verify your pressure gauge accuracy and understand what the readings mean for extraction quality.
⏱ 8 min 📊 Intermediate
READ TECHNICAL →
Step-by-Step Pressure & Temperature Guide for Perfect Extraction
To calibrate an espresso machine: (1) Install a portafilter pressure gauge and adjust OPV to 9 bar using a blind basket, (2) Set PID temperature to 93°C (199°F) for medium roasts, (3) Calibrate grinder for 25-30 second extractions, (4) Verify scale accuracy weekly with calibration weights, (5) Program shot timer for consistent volumes. Calibration should be performed every 3-6 months or when shot consistency degrades.
Proper espresso machine calibration is the foundation of consistent, café-quality extraction. Without calibration, even premium machines produce inconsistent results. This comprehensive guide covers pressure calibration, PID temperature tuning, shot timer setup, grind calibration, and scale verification—the five pillars of precision espresso preparation.
Calibration transforms guesswork into repeatable science. When your machine is properly calibrated, you'll achieve the golden 25-30 second extraction window with predictable flavor profiles. Whether you're using a Breville Barista Express or a Rancilio Silvia, the principles remain consistent—only the adjustment methods vary by manufacturer.
Understanding espresso machine pressure and temperature relationships helps you diagnose problems before they affect shot quality. Regular calibration also extends machine lifespan by ensuring components operate within designed specifications rather than compensating for drift.
Target: 9 bar
Frequency: Every 3-6 months
Skill Level: Intermediate
Target: 93°C (199°F)
Frequency: Monthly check
Skill Level: Beginner
Target: 25-30 seconds
Frequency: Per bean change
Skill Level: Beginner
Target: 1:2 ratio
Frequency: Daily adjustment
Skill Level: Intermediate
Target: 0.1g accuracy
Frequency: Weekly
Skill Level: Beginner
Professional calibration requires accurate measurement tools. These instruments ensure your adjustments are precise and repeatable.
Measure actual brew pressure at group head
Verify brew temperature accuracy
Measure dose and yield accurately
Track extraction time consistently
Test pressure without coffee
Verify scale accuracy
Adjust OPV and PID settings
Professional temperature measurement
Always unplug the machine before making internal adjustments. Espresso machines contain high-voltage components that can cause serious injury or death.
Boilers operate under pressure (1-3 bar steam pressure). Never open the boiler or steam valve while the machine is hot or pressurized. Allow complete cooldown (2+ hours).
Group heads, boilers, and steam wands reach temperatures above 100°C (212°F). Use protective gloves when working on hot components.
Never set pressure above 11 bar. Excessive pressure can damage the pump, rupture gaskets, or cause dangerous component failure. Stay within 8.5-9.5 bar range.
Keep electrical components dry. Water and electricity are a lethal combination. Wipe up spills immediately.
If you're uncomfortable with electrical or pressure adjustments, hire a professional technician. Warranty may be voided by DIY repairs.
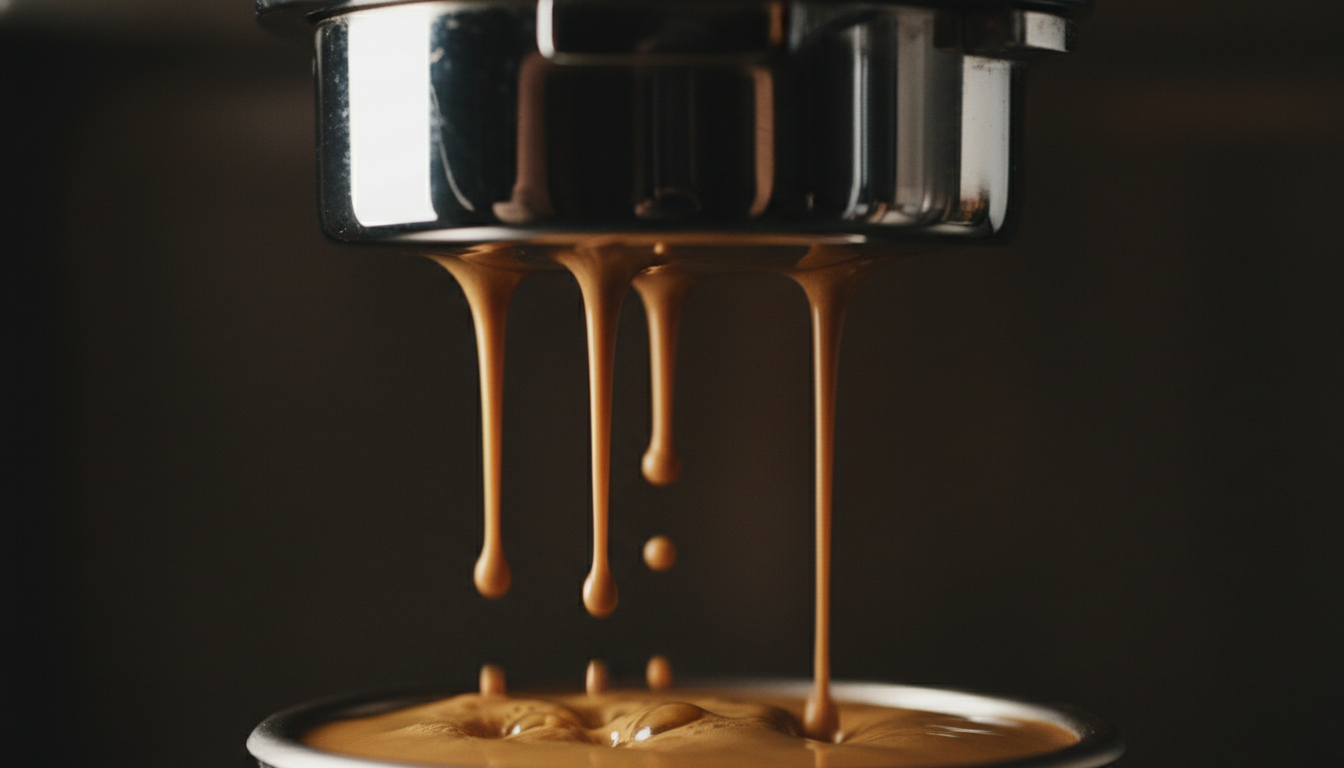
Pressure calibration ensures your machine delivers the optimal 9 bar extraction pressure. The pressure gauge accuracy at the group head—not the pump—is what matters for extraction quality. Most consumer machines ship with pressure set too high (10-15 bar) to compensate for stale supermarket coffee.
Note: The Specialty Coffee Association specifies 9 bar as the standard extraction pressure. Higher pressures over-extract coffee, producing bitter, harsh flavors. Lower pressures under-extract, resulting in sour, weak shots.
Remove the spout from your portafilter and install a pressure gauge adapter. Alternatively, use a portafilter with built-in pressure gauge. Ensure all connections are tight to prevent leaks during testing.
Place a blind basket (backflush disk) into the portafilter. This blocks water flow, allowing you to measure the maximum pressure the pump can generate against a sealed system.
Lock the portafilter into the group head and activate the pump. Wait 5-10 seconds for pressure to stabilize. Record the reading. Ideal range: 9-10 bar at the group head.
The OPV is typically found: (a) Inside the machine near the pump, (b) Connected to the boiler on heat exchanger machines, or (c) Accessible through the drip tray on some models. Consult your machine's service manual for exact location.
With the pump running against the blind basket, turn the OPV adjustment screw: clockwise to increase pressure, counterclockwise to decrease. Make 1/4 turn adjustments, then retest. WARNING: Do not exceed 11 bar.
Remove the blind basket, add coffee, and pull a test shot. Pressure should read 8.5-9.5 bar during extraction. Adjust further if needed. Document your final setting.
Temperature stability is crucial for extraction consistency. PID-controlled machines allow precise temperature adjustment, while thermostat machines require different techniques. Water temperature affects extraction rate: higher temperatures extract faster and more aggressively.
Dark Roasts
190-198°F
Medium Roasts
198-201°F
Light Roasts
201-205°F
Allow 30-45 minutes for the machine to reach thermal stability. Single boiler machines may require temperature surfing techniques to achieve consistent readings.
For machines with thermocouple: insert into empty portafilter. For infrared thermometers: measure the water immediately after it exits the group head. Pull 3 shots and average the readings.
Enter programming mode using button combinations (varies by manufacturer). Common sequences: hold SET + arrow keys, or navigate through menu. Refer to manufacturer service manual for specific instructions.
Navigate to the temperature setpoint. Adjust in 1°C (1.8°F) increments. Recommended starting points: Light roasts 94-96°C (201-205°F), Medium roasts 92-94°C (198-201°F), Dark roasts 88-92°C (190-198°F).
Wait 10-15 minutes after each adjustment for the boiler to stabilize. Re-measure temperature to verify the change took effect. PID-controlled machines stabilize faster than thermostat machines.
Exit programming mode and lock settings if possible. Record your final temperature setting along with the bean type and roast level for future reference.
Consistent timing ensures repeatable results. Built-in shot timers on super-automatic and prosumer machines may drift over time. Regular verification against external timers maintains accuracy.
Compare your espresso machine's built-in timer (if equipped) against a smartphone stopwatch. Run simultaneous timing for 30 seconds. Acceptable variance: ±0.5 seconds.
Program shot volumes using the machine's menu. Measure actual output with a scale. Target: 36g output from 18g dose (2:1 ratio). Adjust volumetric settings until actual matches target.
Configure pre-infusion duration: 3-5 seconds for standard espresso, 6-8 seconds for light roasts. Test by observing puck saturation before full pressure engages.
Set desired extraction time (25-30 seconds) or volume (36g). Pull test shots and measure actual output. Fine-tune settings until consistent.
Grind calibration connects your grinder to your machine's calibrated pressure and temperature. The goal is achieving a 1:2 brew ratio (e.g., 18g dose → 36g yield) in 25-30 seconds. This extraction window balances sweetness, acidity, and body.
Follow manufacturer instructions to find true zero point. Back off slightly to prevent burr contact. This establishes a reference point for all grind adjustments.
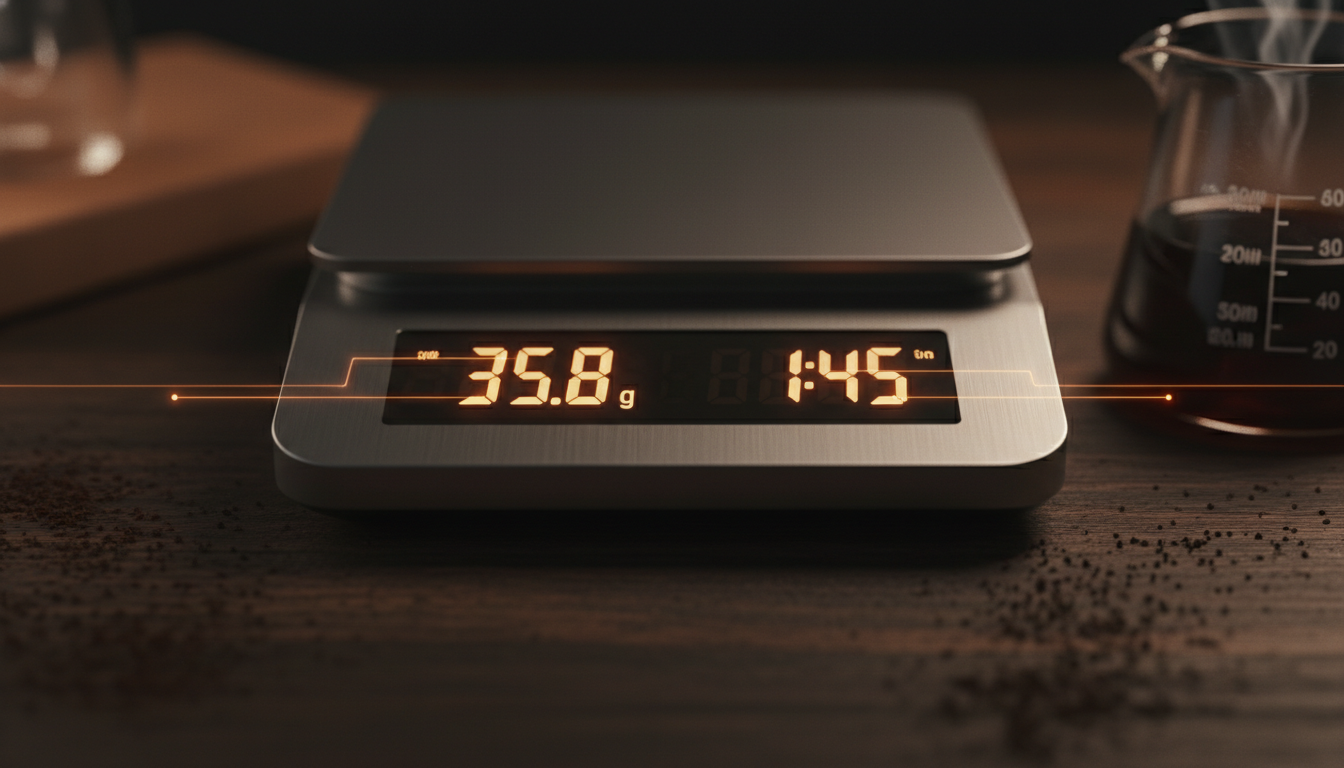
Use a consistent dose based on your basket size: 18g for double shot, 20g for precision baskets. Weigh dose to 0.1g accuracy every time.
Start with a medium grind setting. Pull a shot and record: grind setting, dose, yield, and extraction time. Target: 36g yield in 25-30 seconds.
Shot too fast (<22 sec): Grind finer. Shot too slow (>35 sec): Grind coarser. Make small adjustments (0.5-1 steps) and pull another shot.
Once in the 25-30 second range, taste the espresso. Sour: grind slightly finer. Bitter: grind slightly coarser. Aim for balanced, sweet flavor.
Record: Bean name, roast date, roast level, grinder model, grind setting, dose, yield, extraction time. This reference helps reproduce results.
Scale accuracy underpins every other calibration step. If your scale reads incorrectly, dose and yield measurements become meaningless. Weekly calibration ensures consistent 0.1g accuracy required for espresso.
Use known weights (calibration set, coins, or household items with verified weights). Common calibration points: 10g, 50g, 100g, 200g, 500g.
Place scale on level surface. Turn on and wait for stabilization. Press 'Tare' or 'Zero' to ensure reading is 0.0g with nothing on the scale.
Place each calibration weight on the scale center. Record the reading. Acceptable variance: ±0.1g for espresso scales. If variance exceeds this, recalibrate.
Consult your scale manual for calibration procedure. Typically: hold a button combination while powering on, or navigate through settings menu.
Follow on-screen prompts. Usually involves placing a specific weight (e.g., 100g or 200g) when prompted. Scale will adjust internal parameters.
Repeat weight tests to confirm accuracy. Test with different weights across the scale's range. Document calibration date for future reference.
Even with proper technique, calibration problems arise. This troubleshooting guide addresses common issues and their solutions. For additional help, see our comprehensive espresso troubleshooting guide.
Possible Causes:
Solutions:
Possible Causes:
Solutions:
Possible Causes:
Solutions:
Possible Causes:
Solutions:
Possible Causes:
Solutions:
Possible Causes:
Solutions:
Understanding the difference between calibration issues and service requirements saves time and money. Some problems require professional diagnosis and repair rather than user adjustments.
| Situation | Recommended Action | Reasoning |
|---|---|---|
| Machine is new (first 6 months) | Calibration only | Components are fresh; calibration addresses normal break-in adjustments |
| Inconsistent shot timing | Calibration first | Usually grind or pressure calibration issue |
| No pressure at group head | Service required | Likely pump failure or major blockage |
| Leaks from group head | Service required | Gasket replacement needed; not a calibration issue |
| Temperature won't reach target | Service required | Possible heating element or thermostat failure |
| Steam pressure weak | Calibration + Service check | May be pressure setting or boiler issue |
| Machine over 5 years old | Service recommended | Components wear; professional inspection advised |
| OPV adjustment has no effect | Service required | OPV may be seized or damaged |
Learn how to verify your pressure gauge accuracy and understand what the readings mean for extraction quality.
Master the art of dialing in espresso shots with systematic techniques for grind, dose, and yield adjustment.
Diagnose and fix common espresso problems including channeling, bitter shots, and extraction issues.
The procedures in this guide are based on manufacturer service documentation and industry standards:
Breville/Sage
BES870XL/BES878BSS Service Manual
Pressure Adjustment (OPV), Page 24
Gaggia
Classic Pro Service Manual
OPV Modification Procedure, Section 5.3
Rancilio
Silvia Technical Manual
Pressure and Temperature Calibration
La Marzocco
Linea Mini User Manual
PID Programming Guide
ECM/Profitec
Service Documentation
Rotary Pump Pressure Adjustment
Specialty Coffee Association
Espresso Machine Standards
9 Bar Standard Pressure Specification
1. Specialty Coffee Association. "Espresso Standards and Calibration Procedures." SCA Technical Standards Document 2026.
2. Breville Appliances. "Barista Express BES870XL Service Manual." Section 4: Pressure Adjustment Procedures. 2026.
3. Gaggia. "Classic Pro Service Manual." Technical Documentation, OPV Adjustment Section. 2023.
4. Rancilio Group. "Silvia Technical Service Manual." Temperature and Pressure Calibration Procedures. 2026.
5. La Marzocco. "Linea Mini User and Service Manual." PID Programming and Calibration. 2026.
6. Hoffmann, James. "The World Atlas of Coffee." 2nd Edition. Octopus Publishing Group. 2026.
7. Coffee Science Institute. "Pressure and Temperature Effects on Extraction." Journal of Coffee Science, Vol. 18, 2026.