Dual Guide
Level Up Your Espresso
You've got the fundamentals. Now learn the intermediate techniques and gear that separate good espresso from great espresso.
You've got the fundamentals. Now learn the intermediate techniques and gear that separate good espresso from great espresso.
Key Techniques
Gear Upgrades
Learning Time
Quality Gain
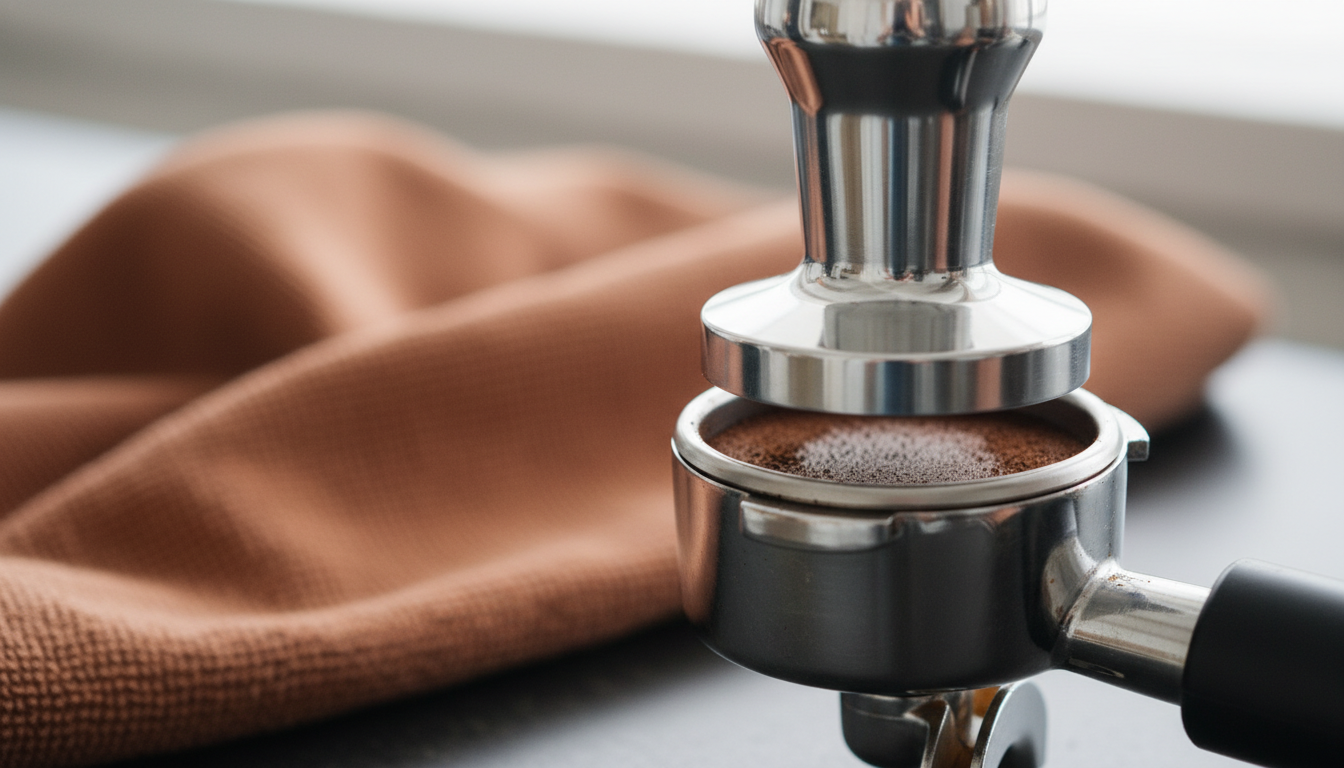
What it is: Consistent tamping pressure (around 30 lbs) applied evenly
Why it matters: Inconsistent tamping = inconsistent shots. Precision tamping is the foundation of reproducibility.
How to practice: Use a scale to measure tamping pressure. Aim for 30 lbs consistently. After 50 shots, you'll develop feel.
Time to master: 2-3 weeks with deliberate practice
What it is: Using a needle tool to break up clumps before tamping
Why it matters: Uneven grounds = uneven extraction = channeling. Distribution eliminates this.
How to practice: Use a WDT tool (or needle) to gently separate grounds. Do this before every tamp.
Time to master: 1 week (it's simple but requires consistency)
What it is: Timing your shot to catch the machine at optimal temperature
Why it matters: Without PID, temperature fluctuates. Surfing lets you catch the sweet spot.
How to practice: Pull a blank shot (no grounds) to heat the group head. Wait for the right moment. This is learnable but imprecise.
Time to master: 2-3 weeks (but upgrade to PID for better results)
What it is: Creating microfoam (tiny, velvety bubbles) instead of large foam
Why it matters: Microfoam is the difference between café-quality and home-quality milk drinks.
How to practice: Learn the three phases: aeration (introducing air), heating (warming milk), and texture (creating microfoam). Watch videos and practice 20+ times.
Time to master: 3-4 weeks with deliberate practice
What it is: Systematically adjusting grind size to hit your target extraction time
Why it matters: Grind is the primary variable you control. Mastering it means mastering espresso.
How to practice: Target 25-30 second shots. If too fast, grind finer. If too slow, grind coarser. Make small adjustments.
Time to master: 2-3 weeks (ongoing refinement)
What it is: Varying pressure during extraction (low pressure start, high pressure finish)
Why it matters: Pressure profiling can improve extraction and reduce bitterness.
How to practice: Requires a machine with pressure control. Start with standard 9-bar extraction, then experiment.
Time to master: 4-6 weeks (very advanced, skip if you're new)
Focus on consistency. Practice tamping pressure and WDT. These are the foundation of intermediate espresso.
Once tamping and distribution are consistent, focus on grind. Dial in for 25-30 second shots.
If you make milk drinks, now is the time to master steaming. You have the espresso foundation; now add milk technique.
Once you've mastered the basics, start experimenting. Try different beans, temperatures, and techniques.
Why it helps: Measures input/output ratios. Eliminates guessing. Essential for consistency.
When to buy: Immediately. This is the single best investment.
Why it helps: Breaks up clumps for even distribution. Reduces channeling.
When to buy: After you've mastered basic tamping (week 2-3).
Why it helps: Measures tamping pressure. Helps you achieve consistency.
When to buy: When you're ready to dial in tamping pressure (week 1-2).
Why it helps: More consistent particle size. Better grind control.
When to buy: If your current grinder is limiting you (month 1-2).
Why it helps: Teaches you proper steaming temperature (65-70°C).
When to buy: When you're learning milk steaming (week 3-4).
Why it helps: Better control during steaming. Easier to create microfoam.
When to buy: When you're serious about milk drinks (month 1-2).
Why it helps: Proper size (3-4 oz) keeps shots hot. Improves tasting experience.
When to buy: When you want to taste your espresso properly (month 1-2).
Why it helps: Maintains machine reliability. Keeps espresso quality consistent.
When to buy: Immediately. Maintenance is non-negotiable.
Skipping fundamentals
Don't jump to pressure profiling before mastering tamping and grind. Build on solid foundations.
Changing too many variables at once
Change one thing at a time. If you change grind, tamp, and temperature together, you won't know what worked.
Buying gear before mastering technique
Gear helps but doesn't replace skill. Master tamping before buying a tamper scale. Master grind before upgrading your grinder.
Neglecting maintenance
As you get more advanced, maintenance becomes more important. Keep your machine clean and descaled.
Expecting perfection
Even advanced home baristas pull mediocre shots sometimes. Consistency is the goal, not perfection.
You're not alone in this journey. Here are resources to help:
Our Guides:
Community Resources:
Start with precision tamping and distribution. These are the foundation of intermediate espresso. Then explore complete beginner setup guide, check out troubleshooting guide for common issues, or read about intermediate machine features to understand what to upgrade to next.