What Is WDT and Why Weiss Distribution Technique Matters for Espresso
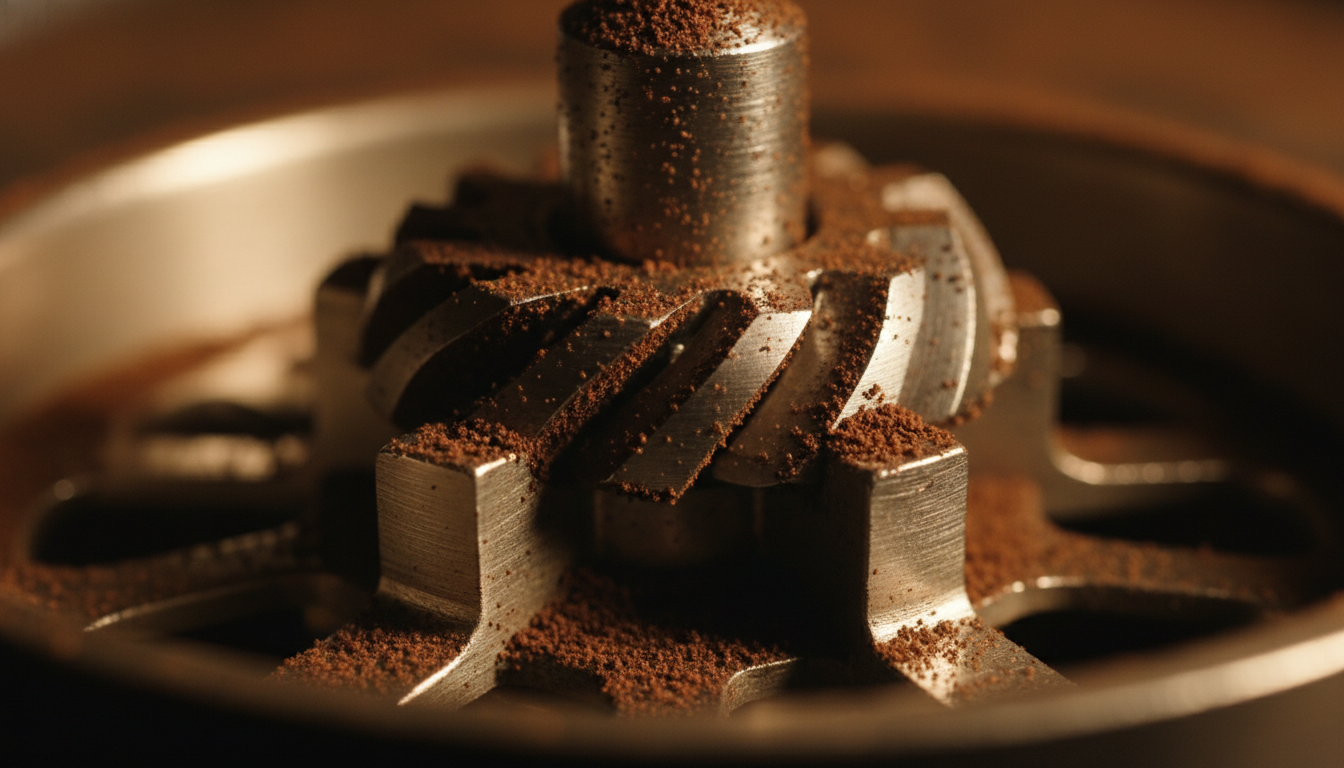
WDT (Weiss Distribution Technique) uses a thin probe to stir and distribute grounds in the portafilter, breaking clumps for even puck preparation. This technique reduces channeling—where water flows preferentially through loose areas—and improves extraction consistency by 5-10%, resulting in more balanced, flavorful shots.
Uneven ground distribution causes uneven extraction. Water finds paths of least resistance through loose areas while bypassing dense sections, producing sour, thin shots. WDT eliminates this problem by ensuring uniform density before tamping.
WDT Tools Comparison
Standard WDT Needle
$8-15
Single needle probe, 0.4-0.6mm diameter
Pros
- • Affordable
- • Portable
- • Effective for basic distribution
Cons
- • Single point contact
- • Requires technique
- • Easy to damage puck
4-Prong WDT Fork
$15-25
Four-needle fork design, wider distribution
Pros
- • Better coverage
- • Faster distribution
- • More consistent
Cons
- • Slightly bulkier
- • Higher cost
- • Requires careful technique
Diamond-Shaped WDT Probe
$20-30
Normcore-style probe with diamond shape
Pros
- • Professional design
- • Even distribution
- • Durable construction
Cons
- • Most expensive
- • Overkill for beginners
- • Requires practice
How to Use WDT Tools Correctly
Step 1: Dose Coffee
Weigh ground coffee into the portafilter (typically 18-20g for double shots). Don't tamp yet.
Step 2: Apply WDT
Gently stir the grounds with the WDT tool using light, circular motions. Break up visible clumps without compacting the puck. Use 5-10 gentle stirs.
Step 3: Level and Tamp
After WDT, level the puck surface and tamp normally with 30 pounds of pressure. The grounds are now evenly distributed.
Step 4: Pull Shot
Extract the shot normally. You should notice more consistent flow and better flavor compared to shots without WDT.
Frequently Asked Questions
What is WDT and why does it matter for espresso?
WDT (Weiss Distribution Technique) uses a thin probe to stir and distribute grounds in the portafilter, breaking clumps for even puck prep. This reduces channeling and improves extraction consistency by 5-10%, resulting in more balanced shots.
Can I make my own WDT tool?
Yes. Many baristas use a clean sewing needle, toothpick, or paperclip inserted into a handle. While DIY tools work, commercial WDT tools are designed for durability and consistent needle diameter.
How do I use a WDT tool correctly?
After dosing coffee into the portafilter, gently stir the grounds with the WDT tool using light, circular motions. Break up visible clumps without compacting the puck. Use 5-10 gentle stirs, then tamp normally.
Does WDT work with pressurized baskets?
WDT is less critical with pressurized baskets since they're forgiving of uneven distribution. However, it still improves consistency. Non-pressurized baskets benefit significantly more from WDT.
Final Verdict: Is a WDT Tool Worth It?
WDT tools deliver measurable improvements in espresso consistency and extraction quality. The investment ($8-30) is minimal compared to the flavor improvements. Even a simple DIY needle works effectively, though commercial tools offer better durability and design.
For home baristas serious about improving espresso quality, a WDT tool is essential. The technique is quick to learn and becomes automatic after 10-20 shots. Combined with proper tamping and grind adjustment, WDT enables consistent, delicious espresso.