Equipment
Best Milk Frothers for Latte Art
Complete comparison of top milk frothers with detailed reviews and recommendations for every budget.
⏱ 8 min
READ Equipment →
Technique & Equipment Guide 2026 — Master microfoam creation with the right frother for your skill level and budget.
Optimal Temperature
Frother Types
Top Products
Price Range
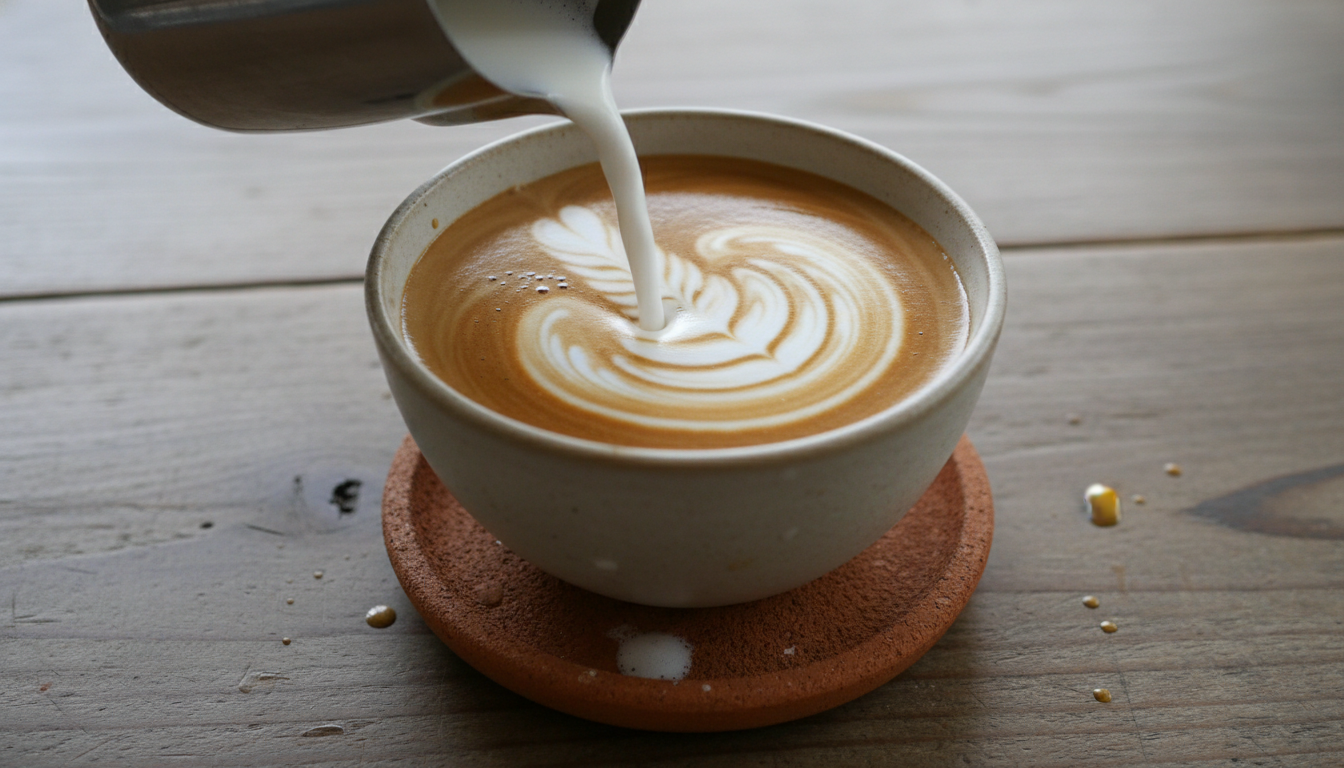
Creating beautiful latte art requires more than just espresso—it demands perfectly textured microfoam. The best milk frothers for latte art create fine, glossy bubbles that blend seamlessly with espresso, providing the canvas for hearts, rosettas, and tulips. Not all frothers are created equal when it comes to artistic expression.
Whether you're a beginner learning your first heart or an experienced home barista perfecting complex designs, choosing the right frother determines your success. This guide covers the three main frother types, reviews five specific products, and teaches you the techniques needed for professional-quality latte art at home.
✓ What Makes Great Latte Art Froth:
Understanding the three main frother categories helps you choose the right tool for your skill level, budget, and latte art ambitions.
Battery or USB-powered whisk wands that froth pre-heated milk. Compact, affordable, and portable—but require separate milk heating.
Self-contained units that heat and froth milk automatically. Consistent results with temperature control—ideal for daily home use.
Hand-powered pump devices that create foam through manual plunging. Full control over texture—requires practice and pre-heated milk.
Temperature is critical for both taste and texture. The optimal range of 60-65°C (140-149°F) allows milk proteins to unfold and create stable microfoam without scalding. Above 70°C, milk develops a burnt taste and loses sweetness.
Electric jug frothers with temperature controls maintain this sweet spot automatically. Handheld and manual frothers require careful monitoring—use a thermometer until you can judge by touch (pitcher too hot to hold for more than 1-2 seconds).
Temperature Effects:
We've tested the most popular frothers to determine which can actually produce microfoam suitable for latte art. Here's our comprehensive comparison.
Electric jug frother with induction heating and adjustable temperature control. The gold standard for home latte artists.
Latte Art Capability: ⭐⭐⭐⭐⭐
Produces professional-quality microfoam with adjustable density settings. The induction heating maintains precise temperature for optimal sweetness.
Pros:
Cons:
Compact electric frother with one-touch operation and dishwasher-safe design. Perfect for Nespresso system users.
Latte Art Capability: ⭐⭐⭐
Creates good foam for basic latte art. Fixed temperature runs slightly hot, but results are consistent. Best for simple hearts and basic pours.
Pros:
Cons:
Powerful handheld whisk frother with USB rechargeable battery. Portable and versatile—use with any heated milk vessel.
Latte Art Capability: ⭐⭐⭐⭐
With proper technique, produces excellent microfoam. Full control over whisking time and angle. Requires skill but rewards practice.
Pros:
Cons:
Classic manual pump frother with borosilicate glass carafe. Requires elbow grease but offers complete control over foam texture.
Latte Art Capability: ⭐⭐⭐
Creates dense, creamy foam suitable for cappuccinos. With practice, can achieve latte art-quality microfoam. Pump speed controls bubble size.
Pros:
Cons:
Affordable electric jug frother with four function settings. Great entry point for beginners wanting automatic frothing.
Latte Art Capability: ⭐⭐⭐
Produces adequate foam for basic latte art. Good stepping stone before investing in premium frothers. Results improve with whole milk.
Pros:
Cons:
Which frothers can actually produce the microfoam needed for latte art? Here's the honest assessment.
| Frother | Heart | Rosetta | Tulip | Notes |
|---|---|---|---|---|
| Breville Milk Cafe | ✓ Easy | ✓ Yes | ✓ Yes | Professional-quality microfoam |
| PowerLix Handheld | ✓ Yes | ✓ Yes | △ Hard | Technique-dependent |
| Nespresso Aeroccino 4 | ✓ Yes | △ Moderate | ✗ No | Foam slightly thick for complex art |
| Bodum Latteo | ✓ Yes | △ Moderate | ✗ No | Denser foam suits cappuccinos |
| Miroco Electric | ✓ Yes | △ Hard | ✗ No | Basic art possible with practice |
Key: ✓ Easy/Yes = Suitable for this design | △ Moderate/Hard = Possible with practice | ✗ No = Not recommended
Each frother type requires different techniques to achieve latte art-quality microfoam. Master these methods for your equipment.
Use cold milk — Start with refrigerated milk (4°C) for best results. Cold milk gives the frother more time to create fine bubbles.
Fill to correct level — Don't exceed max fill line. Overfilling creates large bubbles and spillage.
Select latte disc — Use the flat whisk (latte) not the spring whisk (cappuccino) for pouring art.
Tap and swirl — After frothing, tap the jug on the counter to break large bubbles, then swirl to integrate foam.
💡 Pro Tips:
Heat milk first — Warm milk to 60°C in microwave or saucepan. Use a thermometer for accuracy.
Angle the whisk — Hold frother at 45° angle near the surface, not straight down.
Create vortex — Move whisk in circular motion to create whirlpool effect—this integrates bubbles.
Froth 30-45 seconds — Stop when volume increases 50% and milk has glossy sheen.
💡 Pro Tips:
Heat milk in carafe — Microwave the glass carafe with milk for 60-90 seconds until warm (60°C).
Pump vigorously first — 10-15 quick pumps to incorporate air and create foam.
Slow down — Switch to slower, deeper pumps to break large bubbles and create microfoam.
Total 30-40 pumps — Stop when foam reaches desired consistency—glossy and paint-like.
💡 Pro Tips:
Milk choice significantly impacts frothing results and latte art potential. Here's how dairy and oat milk compare across different frother types.
The gold standard for latte art. High protein (3.3%) and fat (3.5%) content creates stable, glossy microfoam with excellent pouring control.
Best with: All frother types. Produces consistent results regardless of equipment.
The best non-dairy alternative for latte art. Formulated with added fats and proteins to mimic dairy's frothing behavior.
Note: Use "barista blend" varieties only. Regular oat milk won't froth properly.
Electric Jug Frothers
Dairy: Excellent results consistently.
Oat: Good results, slightly less stable foam. May need slightly lower fill level.
Handheld Frothers
Dairy: Great with technique.
Oat: Requires more whisking time. Create vortex longer for integration.
Manual Pump Frothers
Dairy: Classic cappuccino foam.
Oat: Challenging—foam separates faster. Use immediately after frothing.
Proper cleaning extends frother life and maintains microfoam quality. Milk residue affects performance and taste.
After Each Use:
Weekly Deep Clean:
Complete comparison of top milk frothers with detailed reviews and recommendations for every budget.
Master milk steaming and pouring techniques to create beautiful hearts, rosettas, and tulips at home.
Professional-grade steamers and espresso machine wands for serious home baristas pursuing latte art perfection.
Choose the right frother for your needs, master the techniques, and practice consistently. With the right equipment and guidance, you'll be pouring beautiful designs in no time.