Visual Reference
Espresso Grind Size Guide
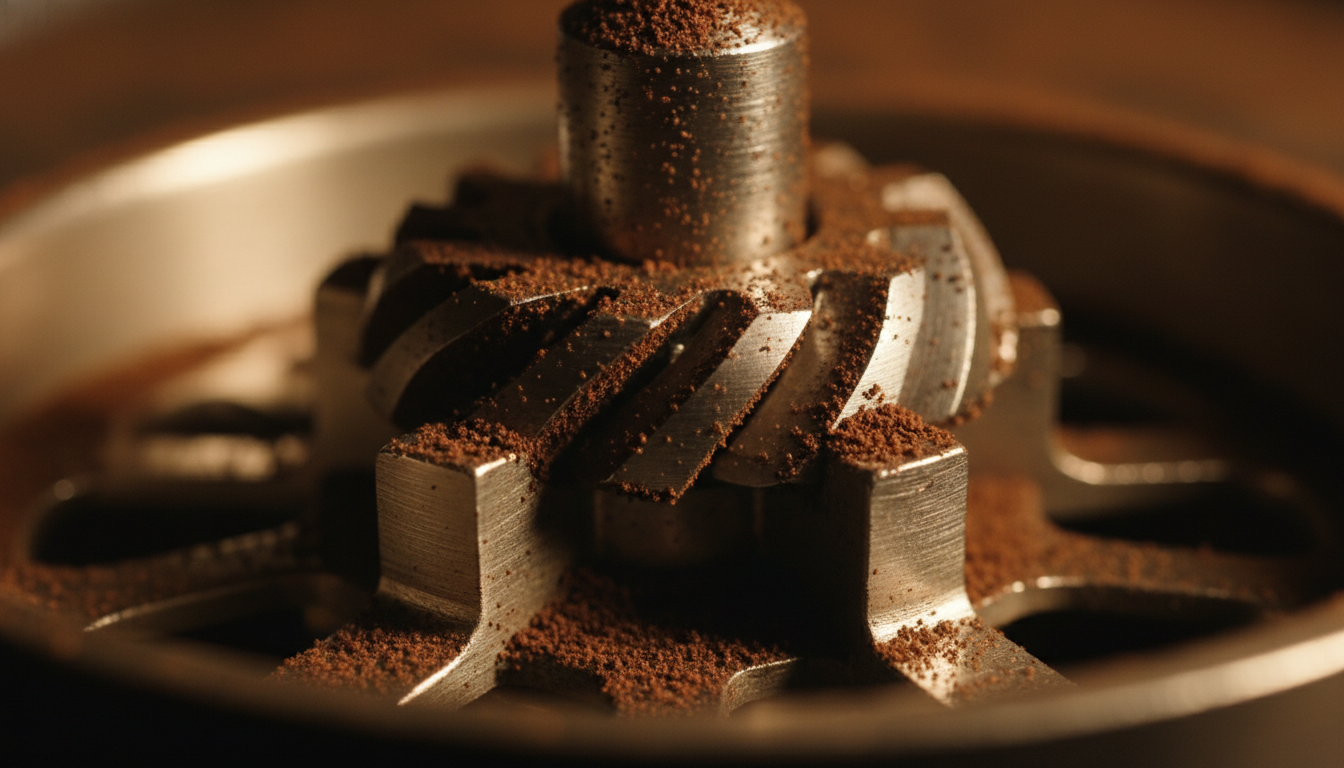
Master the visual art of grind size selection. Learn what 200-500 microns looks like and how to adjust by taste for exceptional espresso.
Master the visual art of grind size selection. Learn what 200-500 microns looks like and how to adjust by taste for exceptional espresso.
Espresso requires a fine grind of 200-500 microns—similar to table salt or fine sand. Too coarse causes fast, sour shots; too fine causes slow, bitter shots. Dial in by taste and timing.
Microns (μm)
Target Extraction
Visual Reference
Grind Category
Grind size is the single most important variable in espresso extraction. Unlike other brewing methods where grind affects flavor nuances, espresso grind size determines whether you get a drinkable shot at all. The extremely fine grind creates the resistance needed for proper pressure extraction at 9 bars.
Understanding what "fine grind" means visually and tactilely helps you communicate grind settings, troubleshoot extraction issues, and achieve consistency across different coffees and equipment. This visual guide provides measurable references you can use immediately.
✓ What You'll Learn:
Espresso grind size is measurable and specific. Understanding the micron range helps you communicate settings and evaluate grinder capabilities.
Coarse End
For lighter roasts, longer extractions, or coarser burr grinders. Still within espresso range but faster flowing.
✓ Sweet Spot
Ideal range for most medium roasts. Produces balanced 25-30 second extractions with full flavor development.
Fine End
For darker roasts, very fresh beans, or high-precision grinders. Slower extraction, more intensity.
Note: Micron measurements require specialized equipment (sieve analyzers or particle size analyzers). Most home baristas work by visual reference and extraction time rather than exact micron counts. However, knowing the range helps when evaluating grinder specifications or communicating with other baristas.
These comparisons help you identify espresso grind size without measuring equipment.
Fine table salt (not coarse sea salt) is the most common visual reference for espresso grind:
✓ Correct Espresso Grind
✗ Incorrect for Espresso
Your fingers can detect grind size variations that eyes might miss. This tactile method helps verify visual assessment:
Pinch Test
Pinch ground coffee between thumb and finger. Espresso grind should feel gritty with particles distinguishable but small.
Rub Test
Rub grounds between fingertips. Proper espresso grind creates slight resistance—like fine sandpaper.
Clumping Check
Press grounds into a clump. Proper espresso grind holds shape briefly but crumbles with light pressure.
Spread grounds on white paper and look for these characteristics:
Particle Uniformity
Quality grinders produce consistent particle sizes with minimal "fines" (dust) or "boulders" (large chunks).
Color Consistency
Even color indicates even grinding. Dark specks suggest inconsistent sizes or uneven burr wear.
Texture Appearance
Proper espresso grind looks like fine, dry sand and flows freely when poured.
Static Behavior
Fine grinds exhibit static cling. No static suggests coarser grind.
Extraction time reveals whether your grind is in the right range. Use this spectrum to identify where you are and where to go.
Visual Signs:
Extraction Signs:
Fix: Grind finer (1-2 notches) until extraction reaches 25-30 seconds.
Visual Signs:
Extraction Signs:
Goal: Your target zone for balanced espresso.
Visual Signs:
Extraction Signs:
Fix: Grind coarser until flow normalizes and timing reaches 25-30 seconds.
Taste is the ultimate guide for grind adjustment. Learn to read your espresso's flavor and correct accordingly.
Sourness indicates water flowed too quickly, extracting only acids.
Primary Fix: Grind Finer
Adjust grinder 1-2 notches finer to slow extraction.
Alternative Fix: Increase Dose
Add 0.5-1g more coffee.
Bitterness means water struggled through, extracting too many compounds.
Primary Fix: Grind Coarser
Adjust grinder 1-2 notches coarser.
Alternative Fix: Decrease Dose
Use 0.5-1g less coffee.
Grind Size
Primary adjustment for flavor
Dose
Fine-tuning when grind is close
Yield
Adjust output ratio
Follow this systematic approach to find the perfect grind setting.
Set grinder to the middle of its espresso range or use manufacturer's recommended starting point. If unknown, start at a setting that feels like fine table salt visually.
Use standard dose (18-20g) and pull a shot. Time from pump start to completion. Note flow rate, color, and volume.
Under 20s = too coarse. Over 35s = too fine. 25-30s but tastes off = needs micro-adjustment.
Adjust grind by small increments—1 notch on stepped grinders or 1/4 turn on stepless. Make only ONE change at a time.
Grind 2-3g to clear old grounds. Pull another test shot with the same dose.
Once close, pull 2-3 shots at the same setting to verify consistency. Large swings indicate grinder inconsistency.
Note: grinder model, setting, dose, and extraction time.
Different grinders have different adjustment ranges. Learn to identify your grinder's espresso zone.
Pro Tip: Mark your grinder's settings with tape or a marker once you find the sweet spot for your machine. Different beans may require different settings within your grinder's espresso range, but knowing your baseline saves time.
| Grinder Model | Type | Typical Espresso Range |
|---|---|---|
| Baratza Sette 270 | Stepped (micro) | 5-15 (varies by bean) |
| Eureka Mignon | Stepless | 0-2 full rotations from zero |
| 1Zpresso JX-Pro | Stepped (fine) | 1-2 full rotations, clicks 0-20 |
| DF64 | Stepless | 5-20 on dial (varies by burrs) |
Note: These are general ranges. Always dial in by taste and extraction time rather than relying solely on numbers.
Even with the right grind size, extraction problems can occur. Here's how to fix common issues.
Water finds paths of least resistance through the puck, creating uneven extraction.
Grind-Related Causes:
Solutions:
Ground coffee forms clumps that create uneven density, leading to channeling and inconsistent extraction.
Causes:
Fixes:
Even with the same grind setting, extraction times vary between shots.
Grinder Issues:
User Solutions:
Find the right grinder for your budget and needs with detailed reviews and comparisons.
READ MOREMaster the complete process of dialing in espresso, including dose, yield, and timing.
READ MOREUnderstand the science behind espresso extraction and how variables affect flavor.
READ MOREUse this visual guide as your reference while dialing in. With practice, you'll recognize the perfect grind size by sight and touch.
Explore More Guides