Essential Steaming Techniques
Master these three core techniques to handle any milk-based drink. Start with basic microfoam and progress to more advanced textures.
Basic Microfoam
Creating smooth, velvety milk with tiny bubbles for lattes and cappuccinos
Step-by-Step:
- 1. Fill pitcher 1/3 full with cold milk
- 2. Purge steam wand for 2 seconds
- 3. Position tip just below milk surface, angled
- 4. Steam until pitcher is hot to touch (65°C/150°F)
- 5. Tap pitcher on counter, swirl to integrate
Wet Foam for Cappuccinos
Creating thinner, wetter foam with larger bubbles for traditional cappuccinos
Step-by-Step:
- 1. Fill pitcher 1/4 full with cold milk
- 2. Position tip deeper in milk
- 3. Introduce more air early in the process
- 4. Stop at 60°C/140°F for wetter texture
- 5. Less swirling, more tapping to break large bubbles
Dry Foam for Macchiatos
Creating thick, stiff foam that holds its shape for macchiatos and latte art
Step-by-Step:
- 1. Fill pitcher 1/4 full with cold milk
- 2. Introduce maximum air in first 5 seconds
- 3. Keep tip near surface throughout
- 4. Steam to 70°C/160°F for thicker foam
- 5. Extensive swirling to create uniform texture
Choosing the Right Milk
Not all milk steams the same. The fat and protein content dramatically affects foam quality and taste. Here's what works best.
Whole Milk (3.25% fat)
Easiest to work with2% Milk
Moderately easyOat Milk
Easy with barista blend, hard otherwiseAlmond Milk
ChallengingBeginner's Choice
Start with whole milk. It's the most forgiving and produces the best microfoam. Once you master the technique, you can experiment with alternative milks.
Common Mistakes & How to Fix Them
Everyone makes these mistakes when starting. Here's how to recognize them and fix them quickly.
Burning the Milk
Cause:
Steaming too hot or too long
Symptom:
Milk tastes scorched, appears yellowish
Fix:
Stop at 65°C/150°F, use thermometer or hand test
Prevention: Use fresh cold milk, don't re-steam milk
Large Bubbles
Cause:
Too much air introduced or tip too deep
Symptom:
Foam looks bubbly, not velvety
Fix:
Keep tip just below surface, introduce less air
Prevention: Practice angle and depth control
No Foam at All
Cause:
Not enough air introduced
Symptom:
Milk is hot but flat, no texture
Fix:
Start with tip at surface, listen for paper tearing sound
Prevention: Practice finding the sweet spot for air intake
Separating Layers
Cause:
Not integrating foam properly
Symptom:
Foam floats on top of liquid milk
Fix:
Tap and swirl vigorously after steaming
Prevention: Always finish with proper integration technique
Latte Art Fundamentals
Latte art looks impressive but follows simple principles. Master these steps and you'll be pouring basic designs in no time.
The Foundation
Start with perfect microfoam and a well-extracted espresso shot
Your milk should be paint-like consistency - smooth, glossy, no visible bubbles. Your espresso should have good crema and balanced extraction.
The Pour
Begin the pour high and fast, then drop low and slow
Start high to mix milk and espresso. Once cup is 1/3 full, drop pitcher close to surface and slow down. This creates the canvas for your art.
The Design
Create patterns by moving the pitcher while maintaining flow
For hearts: pour through center, lift slightly to create bulb, then cut through. For rosettas: wiggle side to side while pulling back.
The Finish
Complete the design with a clean cut through
Lift pitcher and cut through your design from front to back. This defines the edges and creates contrast.
First Designs to Master
Start with hearts, then rosettas. Hearts teach basic form and control. Rosettas develop movement and rhythm. Both build foundation for more complex designs.
Essential Equipment
You don't need expensive gear, but the right equipment makes learning much easier.
Steam Wand
What to Look For:
4-hole tip for beginners, proper angle
Why It Matters:
More holes = easier to create microfoam
Maintenance:
Always purge before and after use
Milk Pitcher
What to Look For:
Stainless steel, 12-20oz capacity
Why It Matters:
Metal conducts heat evenly for temperature control
Maintenance:
Clean immediately after use, don't let milk sit
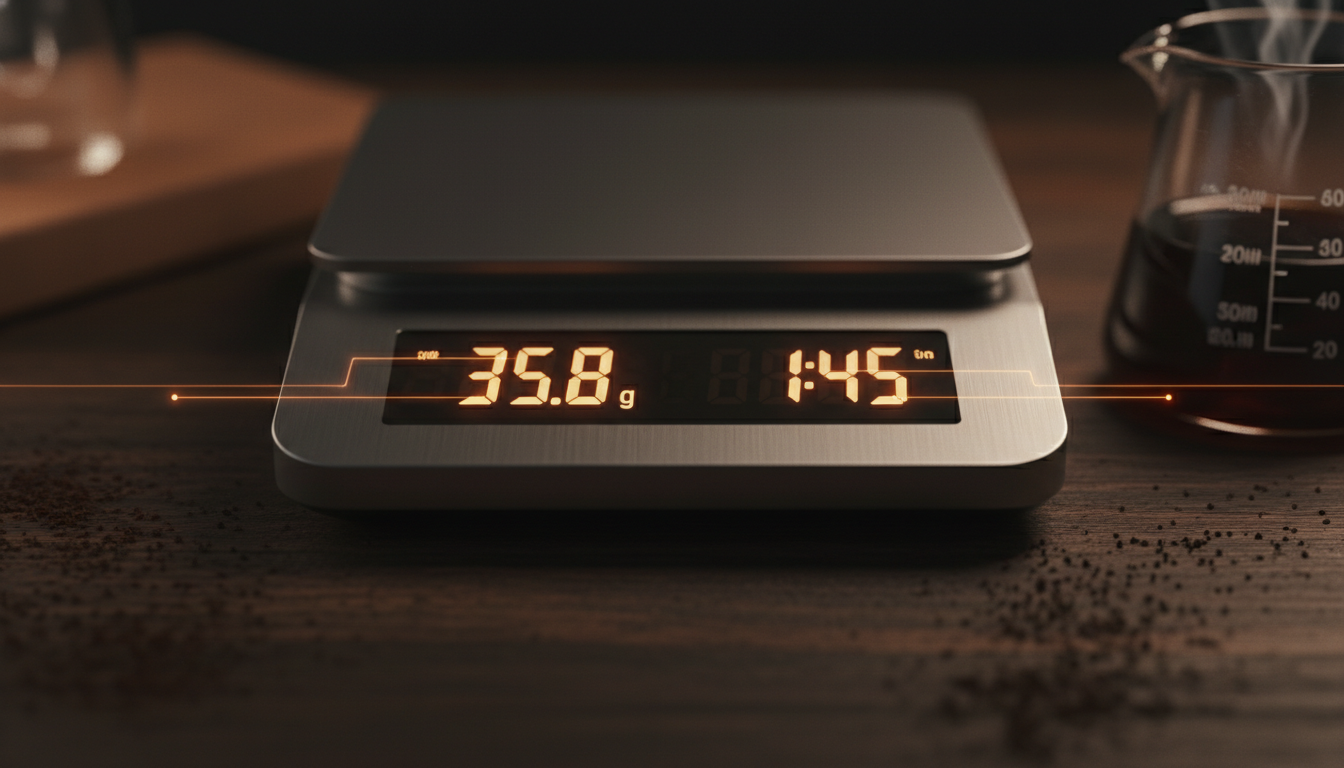
Thermometer
What to Look For:
Digital, fast response, clip attachment
Why It Matters:
Temperature control prevents burning milk
Maintenance:
Calibrate regularly, clean after each use
Cleaning Cloth
What to Look For:
Microfiber, dedicated for milk only
Why It Matters:
Prevents cross-contamination with coffee
Maintenance:
Wash daily, replace weekly
Your Practice Routine
Consistent practice is key to improvement. Follow this routine to build skills systematically.
Week 1-2: Microfoam Mastery
- • Practice steaming 3-4 times daily
- • Focus on temperature control (use thermometer)
- • Aim for wet paint consistency
- • Don't attempt latte art yet
Week 3-4: Basic Pouring
- • Practice pouring without trying designs
- • Learn to control flow and height
- • Start with simple hearts
- • Focus on consistency over complexity
Week 5+: Design Development
- • Master hearts before moving to rosettas
- • Practice different milk types
- • Experiment with cup sizes and shapes
- • Develop your personal style