Timemore Chestnut C2 Grind Settings for Every Brew Method
Use the click system to choose a starting grind range for espresso, pour over, French press, and AeroPress, then adjust for your recipe and coffee.
Quick Answer
Use the starting range and minimum permitted setting in the manual for your exact C2 variant. Record clicks from the reference that manual defines, then adjust one click at a time within the permitted range. Do not copy C2 counts onto a C2S or C3 just because the names are similar.
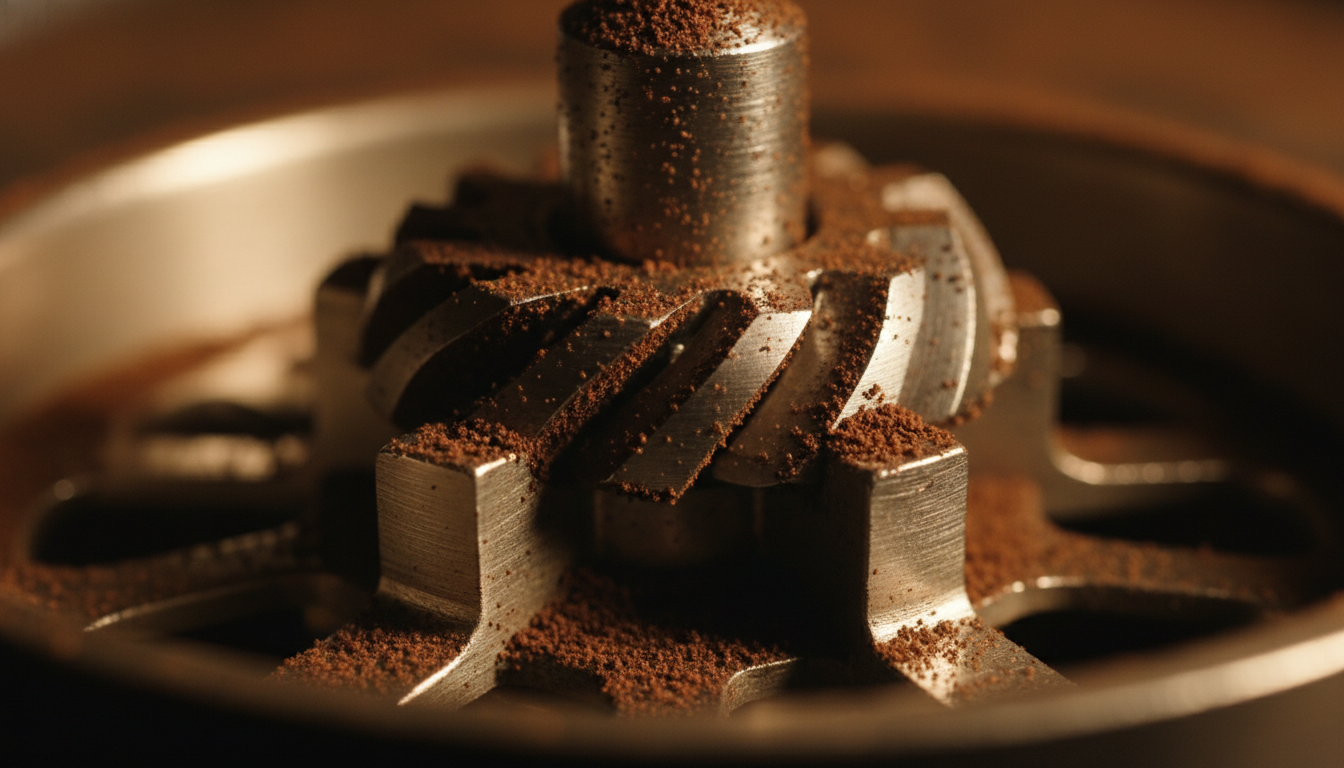
Coffee grinder burrs, shown as an illustration
C2, C2S and C3 are separate setting references
A click is a movement of a particular adjustment mechanism, not a universal particle size. Use the model name on your grinder and its supplied instructions. The Timemore download center lists manuals by model; ask support for the matching manual if your C2 version is not listed.
We have not verified a manufacturer C2-to-C3 conversion or performed timed grinding trials. This page therefore uses a recipe record rather than presenting a universal click chart.
Build a repeatable click record
- Empty loose grounds and identify the reference and adjustment direction in the exact manual. Do not force the burrs together or grind below the permitted setting.
- Choose the manual’s starting point for your brewing method. Write down the click count before brewing.
- Keep coffee weight, water weight and brewing technique stable for the comparison.
- Change one click within the permitted range, brew again, and record what changed in taste and flow.
- When returning to an earlier recipe, use your record as a starting point; a new coffee or reassembly can require another adjustment.
Choose settings by the brew you are making
| Method | Keep fixed | What guides the next adjustment |
|---|---|---|
| Pour over / V60 | Dose, water, filter and pouring pattern | Compare drawdown and taste together. A stalled brew can also involve the filter or pouring. |
| AeroPress | Dose, water, steep time, dilution and pressing method | Record the full recipe; a concentrate and a diluted drink do not need the same setting. |
| French press | Dose, water, steep and decanting routine | Adjust by taste and sediment preference; a coarse setting does not eliminate fines. |
| Espresso | Basket, dose and beverage yield | Check whether the fine adjustment is usable with your basket. If adjacent settings jump between fast flow and choking, finer is not automatically the solution. |
| Moka pot | Basket fill and heating routine from the brewer manual | Use the brewer’s grind guidance and do not tamp; stop and review the recipe if flow is abnormal. |
Espresso effort and dose capacity
Fine hand grinding can require more effort, but time depends on dose, beans, setting and the person turning the handle. No seconds-per-dose estimate is established here. Start with a manageable dose within the grinder’s capacity; divide larger batches rather than assuming they fit in one load.
For non-pressurized espresso, reaching a fine grind is only part of the task. You also need useful adjustment between neighboring settings. Compare manual grinder adjustment options if your C2 cannot dial in your chosen recipe comfortably.
Cleaning and troubleshooting
- Brush accessible loose grounds and keep the grinder dry unless its exact care instructions specify otherwise.
- Follow the manual for disassembly and reassembly. Do not assume cleaning tablets, washing parts or a fixed weekly teardown are approved.
- If the dial becomes rough or the grind changes unexpectedly, check for trapped grounds and correct assembly before changing recipes.
- For burr replacement, ask the manufacturer about the actual condition and compatible parts; do not replace on an invented cycle count.
- If resistance becomes abnormal, stop instead of forcing the handle.
Save the recipe that works
Your record should contain the exact C2 version, coffee, clicks, dose, water or espresso yield, brew time, technique and taste. That information helps you repeat a cup; a copied click number without its recipe does not.