When to Replace Espresso Machine Burrs (Signs of Worn Burrs)
Comprehensive guide to recognizing worn burr signs, understanding burr lifespan, and knowing when to replace grinder burrs for optimal espresso quality
Quick Answer
Replace espresso grinder burrs when you observe: inconsistent grind size with excessive fines and boulders; increased dialing-in difficulty requiring constant adjustment; visible chipping, dulling, or corrosion on burr edges; grinding takes longer than when new; espresso quality degrades with channeling despite proper technique. Steel burrs typically last 500-1,000 pounds of coffee (1-3 years for home use). Ceramic burrs last 1,500-2,000 pounds but chip rather than dull. Replace burrs proactively when shot consistency degrades.
Understanding Espresso Grinder Burrs
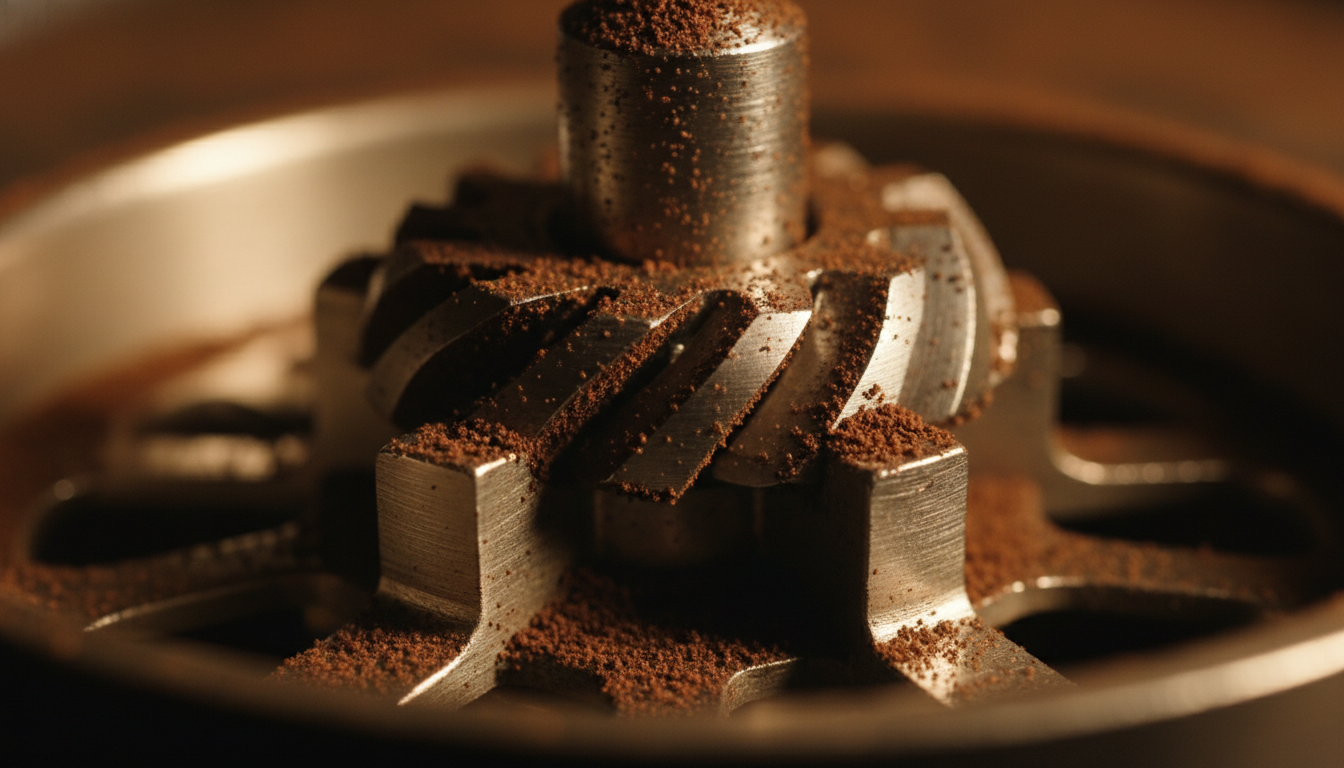
Grinder burrs are the heart of espresso preparation. These precision-machined cutting surfaces transform whole beans into consistent particles suitable for espresso extraction. Burr quality and condition directly determine grind consistency, which in turn determines espresso quality.
Unlike blade grinders that chop beans randomly, burr grinders crush beans between two precision surfaces. The distance between burrs determines grind size; the burr geometry determines particle distribution. Worn burrs lose precision, producing inconsistent particle sizes that make proper extraction impossible.
| Burr Material | Typical Lifespan | Wear Pattern | Cost to Replace |
|---|---|---|---|
| Standard Steel | 500-1,000 lbs | Gradual dulling | $30-80 |
| Ceramic | 1,500-2,000 lbs | Chipping | $40-100 |
| Titanium Coated | 1,000-1,500 lbs | Coating wear | $60-150 |
| Red Speed/DLC | 1,500-2,500 lbs | Gradual dulling | $100-300 |
Signs Your Burrs Need Replacement
1. Inconsistent Grind Distribution
Worn burrs produce bimodal distributions with mixtures of fines and boulders rather than consistent particles. This inconsistency causes channeling, where water finds paths of least resistance through the puck rather than extracting evenly.
2. Dialing-In Drift
As burrs wear, the relationship between grind setting and particle size becomes less predictable. You may find yourself constantly adjusting grind settings to maintain proper shot timing. What worked yesterday requires tweaking today despite using the same beans.
3. Visible Burr Damage
Remove burrs for visual inspection. Look for chipped edges, dulled cutting surfaces, corrosion on steel burrs, coffee oils packed into grooves, and uneven wear patterns indicating alignment issues.
4. Increased Grinding Time
Worn burrs cut less efficiently, requiring more time to process the same amount of coffee. If your 18-gram dose now takes 12 seconds when it previously took 8 seconds, burrs likely need attention.
5. Espresso Quality Degradation
Signs in the cup include persistent channeling, inconsistent shot times, muddy extraction appearance, increased bitterness from over-extracted fines, and reduced crema quality.
Burr Replacement Procedure
Burr replacement varies by grinder model. Always consult your grinder manual for specific instructions. General procedure:
- 1. Unplug grinder and remove hopper
- 2. Remove any retained beans from chamber
- 3. Access burr chamber (may require removing screws)
- 4. Note orientation of existing burrs before removal
- 5. Remove mounting screws and old burrs
- 6. Clean chamber thoroughly with brush and vacuum
- 7. Install new burrs in correct orientation
- 8. Tighten screws to manufacturer torque specifications
- 9. Reassemble grinder
- 10. Run grinder empty briefly to seat burrs
- 11. Season burrs with 1-2 pounds of inexpensive coffee
Burr Seasoning
New burrs require seasoning before achieving consistent results. Manufacturing leaves microscopic burrs and oils on cutting surfaces. Grind 1-2 pounds of inexpensive coffee through the grinder, adjusting across the full range. Discard grounds. The grinder will now produce more consistent results.
Related Content & Deep Dives
Grinder Cleaning Schedules
Proper cleaning extends burr life and maintains grind quality.
How to Choose a Coffee Grinder
Understanding burr types and materials when selecting grinders.
Conical vs Flat Burr Grinder
Different burr geometries and their wear characteristics.
How Long Do Espresso Machines Last
Grinder and machine lifespan expectations and maintenance.
Frequently Asked Questions
How often should I replace grinder burrs?
Home users typically replace burrs every 2-4 years depending on usage. For standard steel burrs, plan replacement after approximately 500-1,000 pounds of coffee. Heavy users (multiple drinks daily) may need annual replacement. Light users may extend to 5+ years. Monitor shot quality rather than following strict timelines—replace when consistency degrades.
Can I sharpen grinder burrs instead of replacing?
No, sharpening espresso grinder burrs is not practical or recommended. Burrs require precision machining with specific geometries and tolerances. Home sharpening cannot achieve necessary precision and risks damaging the grinder. Replacement burrs are relatively inexpensive ($30-100) compared to the cost of damaged equipment or wasted coffee from poor grinding.
Do ceramic burrs last longer than steel?
Ceramic burrs last longer under ideal conditions (1,500-2,000 lbs vs 500-1,000 lbs for steel). However, ceramic is brittle and chips if hard objects enter the grinder. Chipped ceramic burrs require immediate replacement. Steel burrs dull gradually, providing warning signs before complete failure. For most users, high-quality steel burrs offer more predictable performance over time.
Conclusion: Monitor Burr Condition for Optimal Espresso
Grinder burrs directly determine espresso quality through particle consistency. Worn burrs produce inconsistent grinds that make proper extraction impossible regardless of other equipment or technique. Recognizing wear signs enables timely replacement before quality degrades significantly.
Treat burr replacement as routine maintenance rather than repair. Budget for replacement every 2-3 years for typical home use. The cost of new burrs ($30-100) is minimal compared to wasted coffee and frustration from poor extraction.
Remember that burrs are consumable components designed for replacement. No burr lasts forever. Proactive monitoring and timely replacement maintain the grind quality that defines great espresso.