Head-to-Head Comparison
How It Works
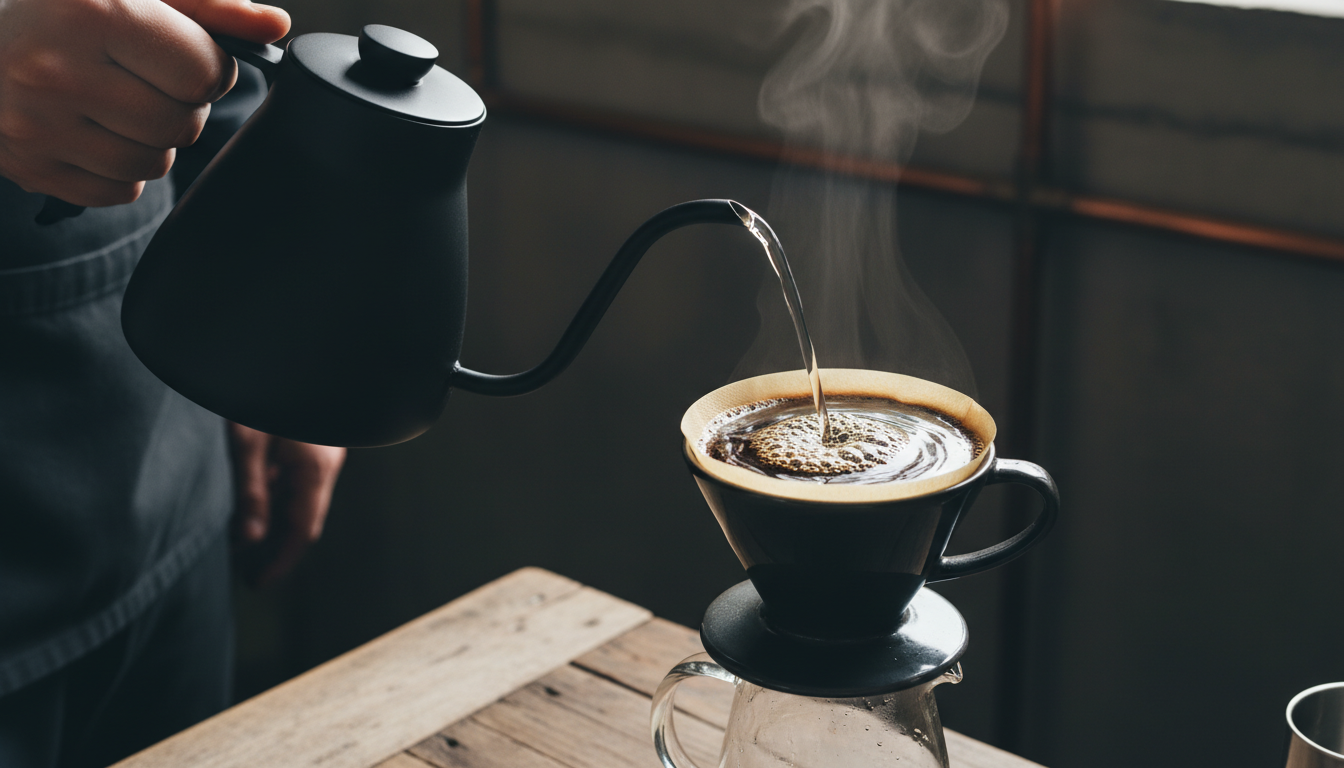
Pressurized: Double-wall design with small hole creates artificial crema
Non-Pressurized: Single-wall with many holes, coffee puck creates resistance
Winner: Different purposes
Grind Forgiveness
Pressurized: Very forgiving - works with coarser grinds
Non-Pressurized: Requires precise fine grind
Winner: Pressurized for beginners
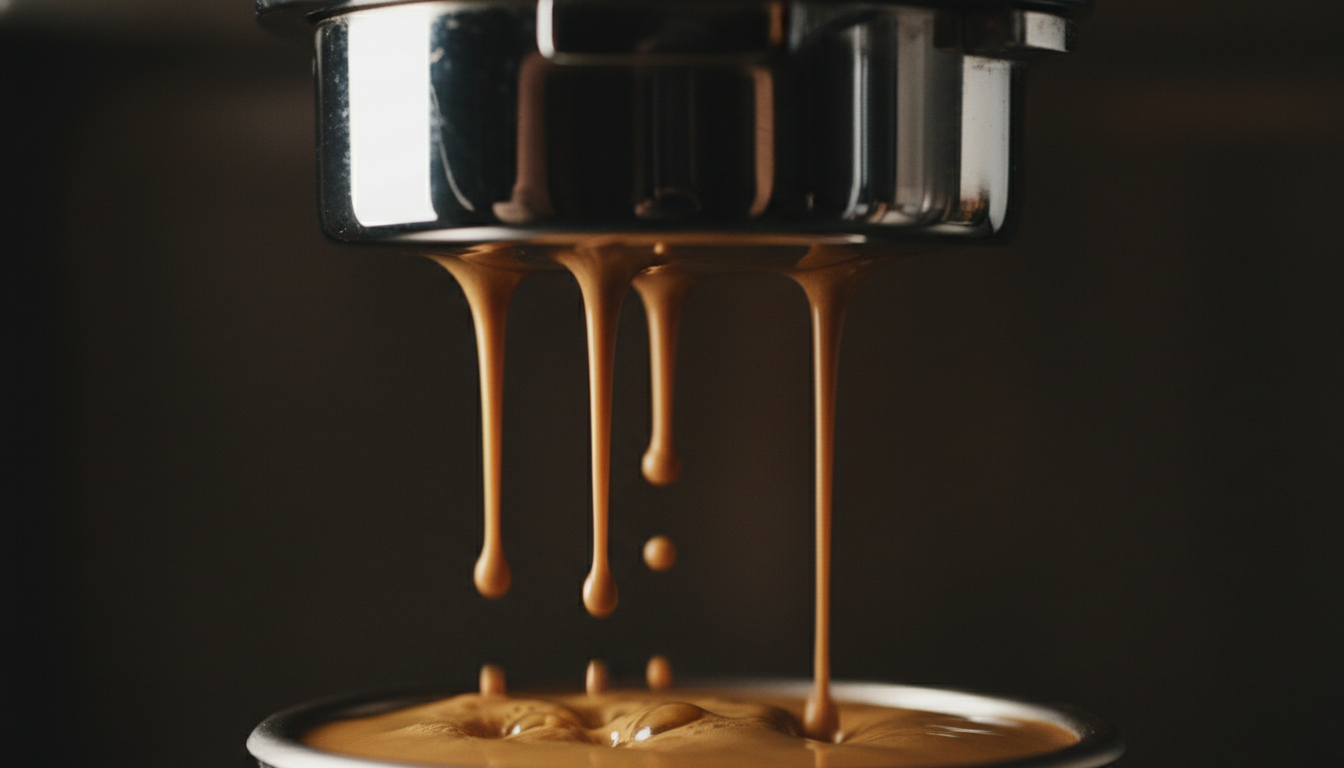
Espresso Quality
Pressurized: Decent crema, limited flavor complexity
Non-Pressurized: Superior extraction, more flavor nuance
Winner: Non-pressurized
Grinder Required
Pressurized: Any grinder, even blade grinders work
Non-Pressurized: Quality burr grinder essential ($150+)
Winner: Pressurized for cost
Learning Curve
Pressurized: Minimal - almost anyone can make acceptable shots
Non-Pressurized: Steeper - requires dialing in technique
Winner: Pressurized
Skill Ceiling
Pressurized: Low - limited improvement possible
Non-Pressurized: High - can achieve café-quality shots
Winner: Non-pressurized
Pressurized Baskets
✓ Pros
- • Forgiving of grind inconsistency
- • Works with pre-ground coffee
- • Produces crema regardless of technique
- • Perfect for absolute beginners
- • Lower equipment investment needed
- • Consistent results with minimal effort
✗ Cons
- • Artificial crema (less flavor)
- • Limited extraction quality ceiling
- • Can't diagnose shot issues easily
- • Masks problems with technique
- • Less satisfying for enthusiasts
- • Not a learning tool
Non-Pressurized Baskets
✓ Pros
- • Superior espresso quality potential
- • Full flavor extraction
- • Allows technique improvement
- • Diagnose issues via bottomless portafilter
- • Industry standard for cafés
- • Satisfying learning journey
✗ Cons
- • Requires quality burr grinder
- • Steeper learning curve
- • More variables to control
- • Can produce bad shots initially
- • Higher equipment investment
- • Time investment to learn
When to Use Each
Just Starting Out
Recommendation: Start with pressurized
Why: Build confidence before investing in grinder
Using Pre-Ground Coffee
Recommendation: Pressurized only
Why: Non-pressurized requires fresh grinding
Want Café-Quality Shots
Recommendation: Non-pressurized required
Why: Pressurized has quality ceiling
Have Quality Grinder
Recommendation: Switch to non-pressurized
Why: No reason for pressurized with good grinder
Making Milk Drinks Primarily
Recommendation: Pressurized is fine
Why: Milk masks espresso imperfections
Interested in Latte Art
Recommendation: Non-pressurized
Why: Better espresso makes better drinks
Transition Guide
Ready to upgrade from pressurized? Follow these steps to master dialing in espresso.
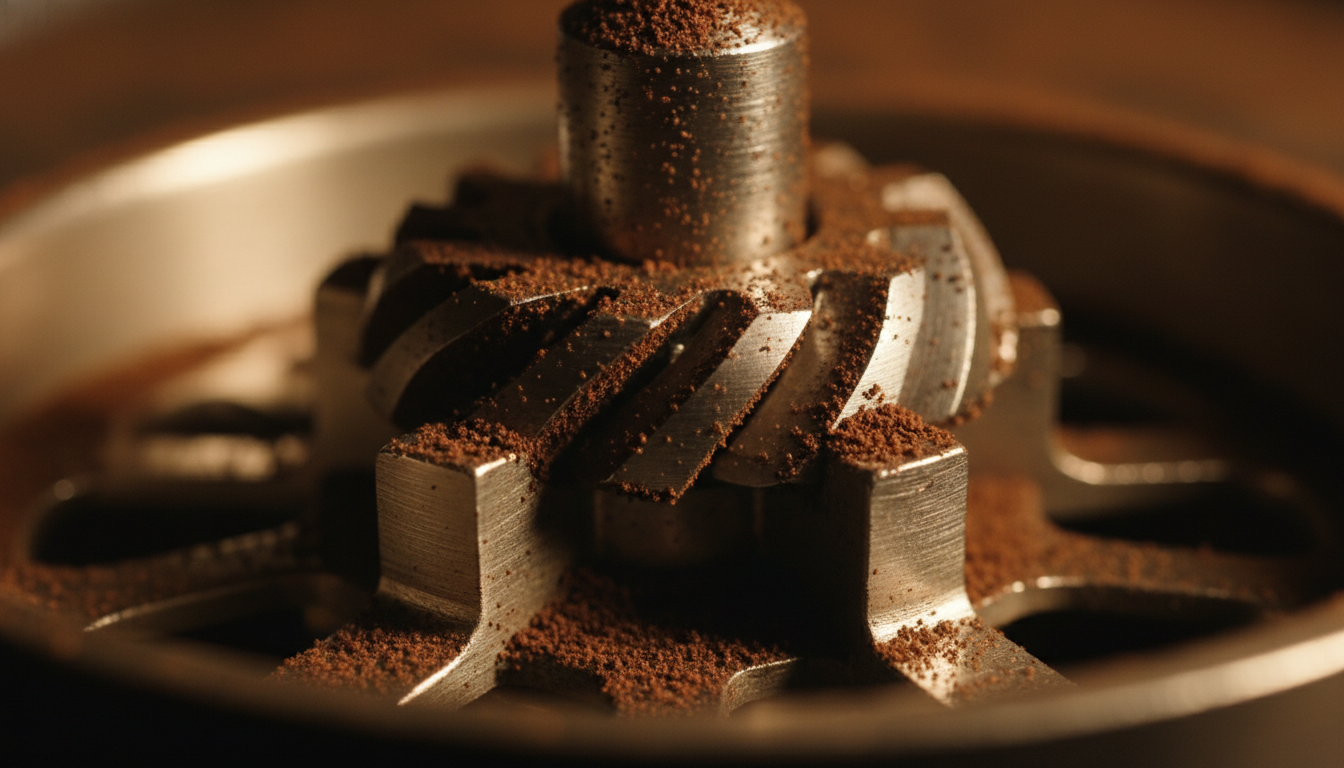
1. Get a Quality Grinder First
Budget $150+ for entry-level espresso grinder (1Zpresso J-Max, Baratza Sette)
Importance: Essential - non-pressurized won't work without it
2. Buy Non-Pressurized Basket
$15-25 for single and double baskets, match your portafilter size
Importance: Affordable upgrade
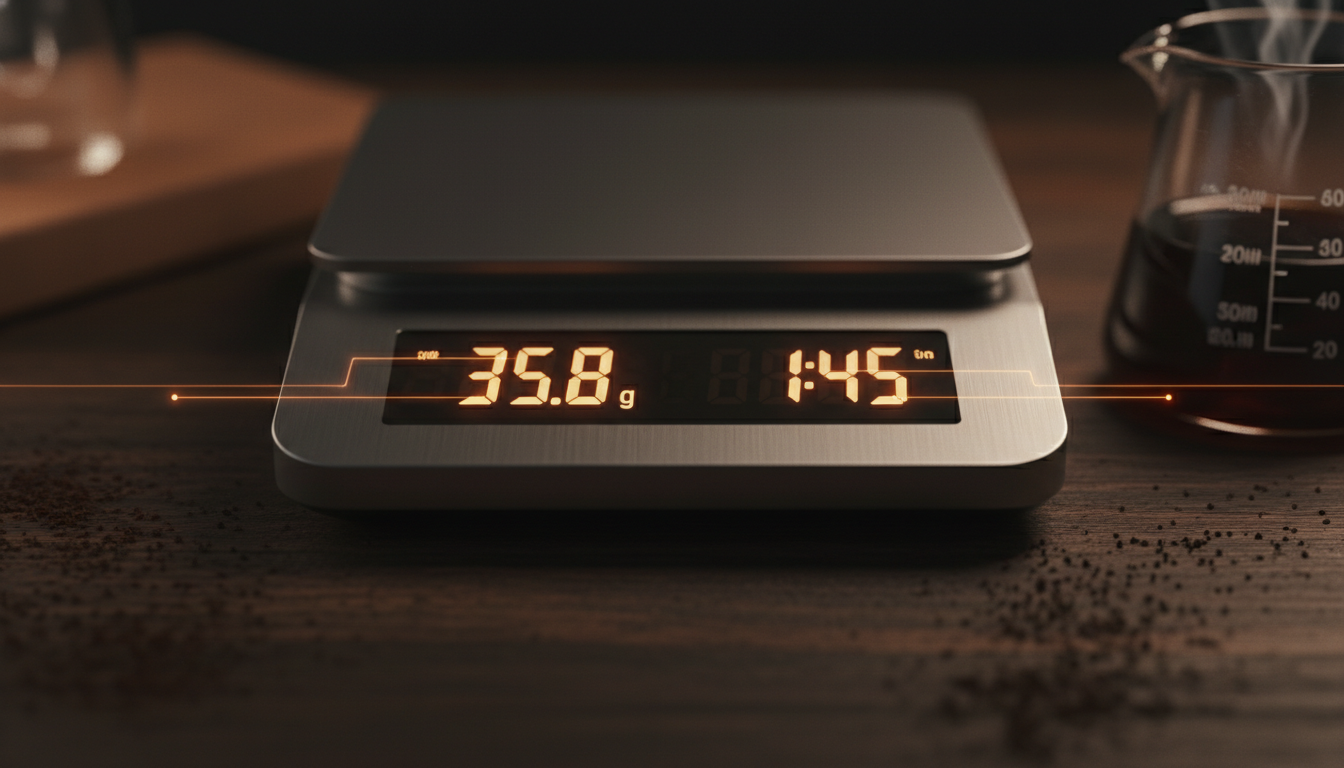
3. Learn Proper Dose
Usually 18-20g for double basket, use scale
Importance: Critical for extraction
4. Dial In Grind Size
Target 25-30 second extraction, adjust grind until achieved
Importance: Takes practice - expect 5-10 wasted shots
5. Perfect Distribution and Tamp
Even distribution, level tamp with 30lbs pressure
Importance: Prevents channeling
Common Mistakes
❌ Switching without proper grinder
Problem: Non-pressurized needs fine, consistent grind
Solution: Invest in grinder before switching
❌ Expecting immediate results
Problem: Dialing in takes practice and patience
Solution: Budget 1-2 weeks of learning
❌ Using same dose as pressurized
Problem: Non-pressurized often needs more coffee
Solution: Increase dose to 18-20g for double
❌ Not adjusting grind
Problem: Shots run too fast without adjustment
Solution: Start fine, adjust until 25-30 seconds