The Purpose of Pressurized Baskets for Learning
Pressurized baskets serve a specific purpose in the espresso ecosystem: they make espresso accessible to beginners without requiring expensive equipment. Their double-wall design creates artificial pressure that compensates for inconsistent grind quality, allowing drinkable shots even with pre-ground coffee or blade grinders.
Think of pressurized baskets as training wheels. They build confidence and familiarity with the espresso workflow—dosing, tamping, timing—while producing consistent, if limited, results. Most entry-level machines include them specifically for this purpose.
However, pressurized baskets have a quality ceiling. They mask technique flaws and cannot produce the full flavor complexity that makes specialty espresso special. Understanding the differences between basket types helps you recognize when you're ready for the next step.
Signs You're Ready to Upgrade
Before investing in non-pressurized baskets, verify you meet these readiness criteria. Jumping too early leads to frustration; waiting too long delays your progress.
✓ Grinder Capability
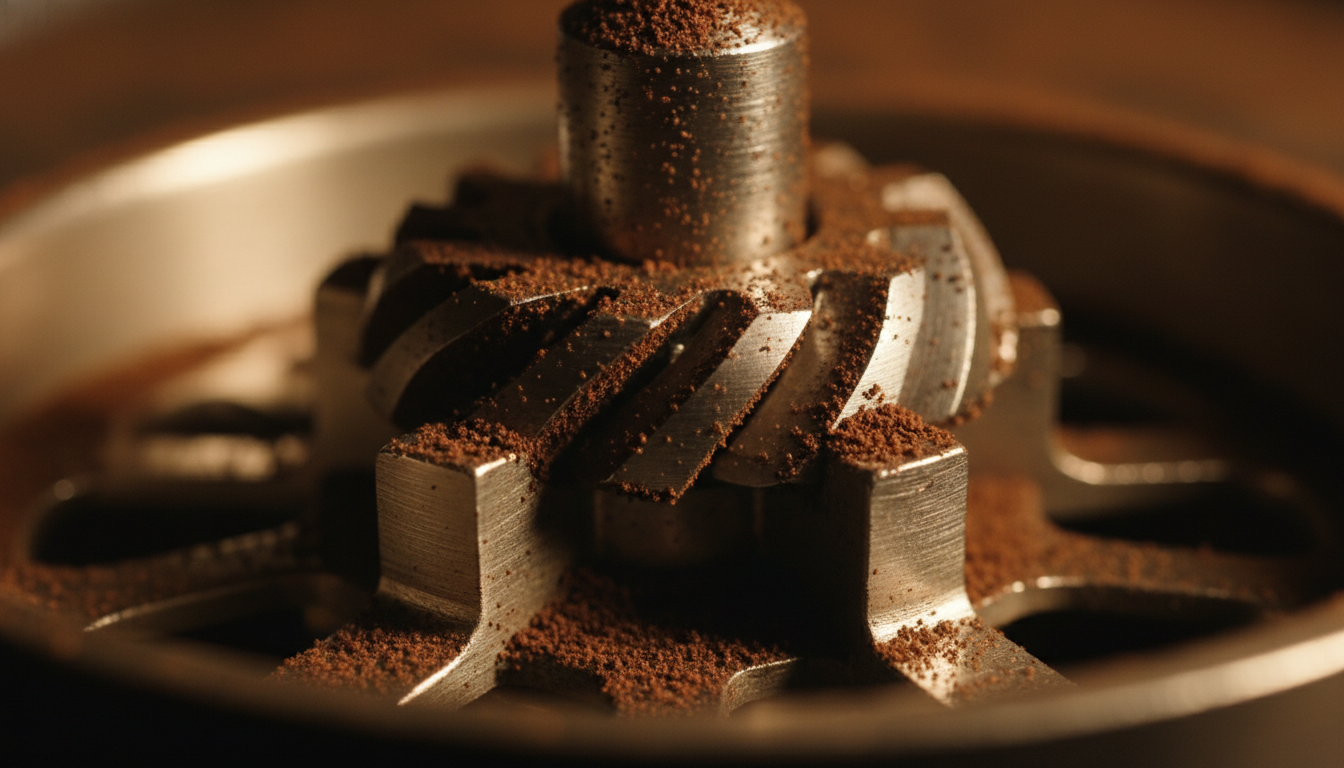
You own a quality burr grinder capable of espresso-fine consistency
Your grinder produces uniform particles at fine settings. Blade grinders and cheap burr grinders cannot achieve the precision needed for non-pressurized baskets.
✓ Consistent Shot Timing
Your pressurized shots consistently hit 25-30 second extraction times
This demonstrates you understand basic dosing and can control variables. If pressurized shots are unpredictable, non-pressurized will be frustrating.
✓ Extraction Understanding
You can identify under-extraction vs over-extraction by taste
Recognizing sour (under-extracted) vs bitter (over-extracted) flavors shows you understand extraction principles and can troubleshoot.
✓ Basic Technique Mastery
You consistently dose, distribute, and tamp with confidence
Non-pressurized baskets amplify technique errors. If your workflow is still shaky, more practice with pressurized baskets builds better habits.
Self-Assessment: If you meet 3-4 of these criteria, you're likely ready. If you only meet 1-2, continue practicing with pressurized baskets while addressing the gaps.
Prerequisites Checklist
Non-pressurized baskets demand specific equipment and mindset. Check each requirement before purchasing:
Quality Burr Grinder
EssentialRequired: $150+ investment minimum
Entry-level options: Baratza Encore ESP, 1Zpresso J-Max, Eureka Mignon
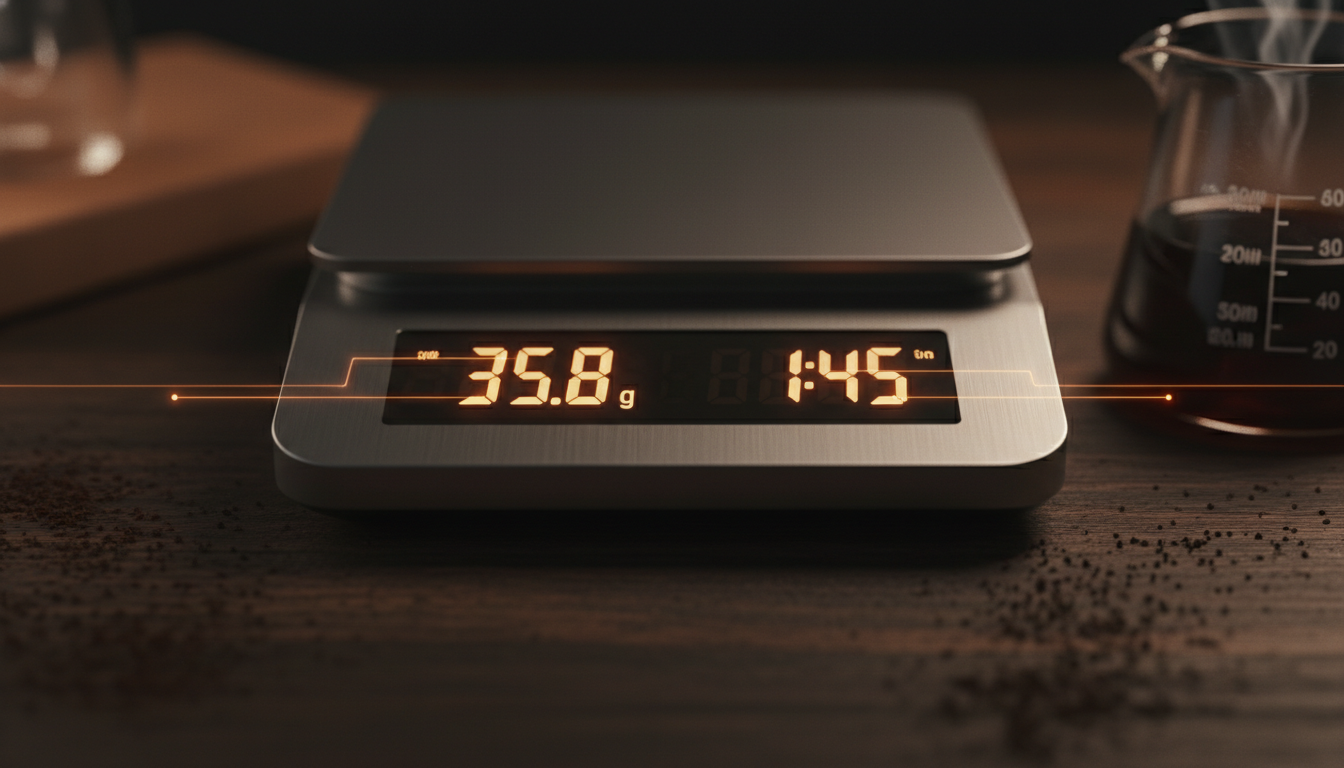
Precision Scale
CriticalRequired: 0.1g accuracy
Non-pressurized baskets require precise 18-20g dosing for double shots
Proper Tamper
ImportantRequired: Correct size for your basket
Must fit snugly without gaps; consistent 30lb pressure required
Fresh Coffee Beans
CriticalRequired: Roasted within 2-4 weeks
Stale beans extract poorly regardless of basket type
Patience and Time
EssentialRequired: 1-3 months experience, 2-4 week transition period
Expect frustration initially; budget time for learning
⚠️ Critical Warning: Do not attempt non-pressurized baskets without a capable grinder. Poor grind quality makes dialing in nearly impossible and will frustrate even patient beginners. If you need a grinder, see our best espresso grinders guide.
What Changes When You Switch
Understanding the differences between basket types prepares you for the transition experience:
Grind Sensitivity
Pressurized: Pressurized baskets forgive coarse or inconsistent grinds
Non-Pressurized: Non-pressurized requires precise fine grind; small adjustments have large impacts
Impact: Must dial in grind carefully; expect 5-10 wasted shots initially
Tamping Importance
Pressurized: Light tamping works; pressure less critical
Non-Pressurized: Consistent 30lb pressure essential; uneven tamping causes channeling
Impact: Channeling becomes visible; shots spray or run unevenly
Shot Variability
Pressurized: Consistent results regardless of technique nuances
Non-Pressurized: High variability based on preparation quality
Impact: Good shots taste significantly better; bad shots taste significantly worse
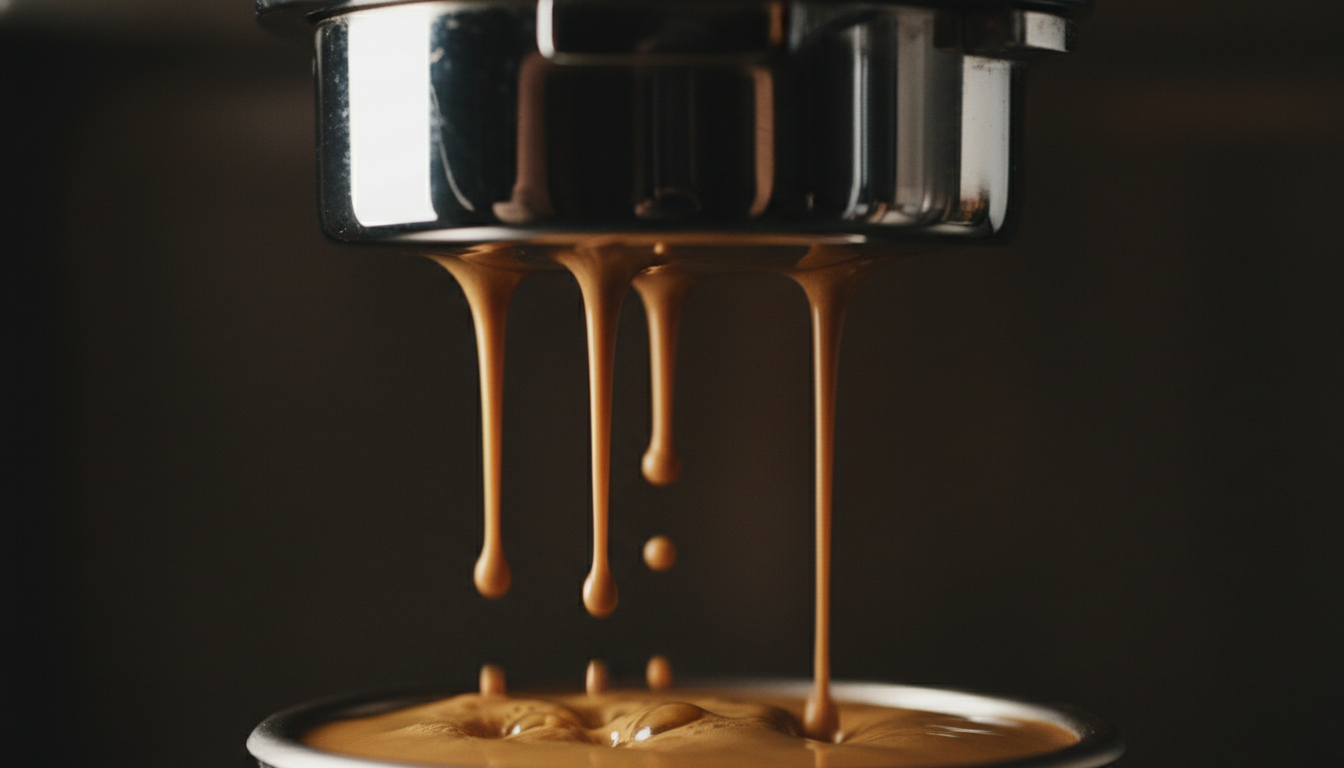
Crema Quality
Pressurized: Thick, foamy crema from artificial pressurization
Non-Pressurized: Genuine crema from proper extraction; may be thinner but more flavorful
Impact: Visual feedback on extraction quality; learn to read shot progress
The Transition Process
Follow this step-by-step approach to minimize frustration and accelerate your learning:
Purchase Non-Pressurized Basket
Buy single and double baskets matching your portafilter size (51mm, 54mm, or 58mm). Cost: $15-30.
💡 Tip: Check compatibility with your machine model before purchasing.
Start with Your Current Grinder Setting
Begin slightly coarser than you think necessary. It's easier to adjust finer than recover from a choked shot.
💡 Tip: Non-pressurized requires finer grind than pressurized for same extraction time.
Dose Precisely
Weigh 18g for standard double basket. Non-pressurized baskets often need slightly more coffee than pressurized.
💡 Tip: Use same dose consistently while adjusting grind.
Distribute Carefully
Use WDT (Weiss Distribution Technique) to break clumps and create even bed. Level before tamping.
💡 Tip: Distribution matters more with non-pressurized baskets.
Tamp Consistently
Apply firm, level pressure. Use a tamping mat for stability. Twist slightly when removing to polish surface.
💡 Tip: Uneven tamping causes channeling - the #1 beginner issue.
Time Your First Extraction
Start timer when pump engages. Target 25-30 seconds from first drip to desired yield (typically 36g).
💡 Tip: If shot runs too fast (<20s), grind finer. If too slow (>35s), grind coarser.
Expected Learning Curve
Set realistic expectations for your transition timeline. Most beginners experience this progression:
Week 1
Expectation: 50-70% of shots will be disappointing
Focus: Grind adjustment, basic consistency
Goal: Achieve 25-30 second extraction consistently
Week 2
Expectation: 70-80% drinkable shots
Focus: Distribution and tamping technique
Goal: Eliminate channeling and spraying
Weeks 3-4
Expectation: 80-90% good shots
Focus: Taste optimization, dialing in different beans
Goal: Recognize and adjust for flavor preferences
Months 2-3
Expectation: 90%+ consistently excellent shots
Focus: Refinement and experimentation
Goal: Confident troubleshooting and customization
Common First-Attempt Issues and Solutions
❌ Channeling (Spraying/Spurting)
Cause: Uneven distribution, poor tamping, or grinder clumps
Solution: Improve WDT technique, ensure level tamp, check grinder for retention issues
❌ Shot Runs Too Fast (<20 seconds)
Cause: Grind too coarse, insufficient dose, or light tamp
Solution: Adjust grinder finer in small increments, verify dose weight, tamp firmer
❌ Shot Runs Too Slow (>35 seconds) or Chokes
Cause: Grind too fine, excessive dose, or hard tamp
Solution: Grind coarser, reduce dose slightly, use consistent tamping pressure
❌ Sour Taste (Under-extracted)
Cause: Grind too coarse, insufficient extraction time, or low temperature
Solution: Grind finer, extend extraction time, ensure machine is fully heated
❌ Bitter Taste (Over-extracted)
Cause: Grind too fine, excessive extraction time, or high temperature
Solution: Grind coarser, stop shot earlier, allow cooling flush if needed
For more troubleshooting help, see our beginner espresso tips guide which covers common mistakes and how to avoid them.
Benefits of Upgrading
Understanding the rewards helps justify the learning investment:
✓ Superior Flavor Complexity
Non-pressurized baskets allow full extraction of coffee oils and aromatics. You'll taste nuanced flavors impossible with pressurized baskets.
Timeline: Noticeable immediately with good technique
✓ Skill Development
Mastering non-pressurized baskets teaches you to control every variable. These skills transfer to any espresso setup.
Timeline: Builds over 1-3 months of practice
✓ Customization Potential
Adjust dose, grind, and extraction to match specific beans and taste preferences. Each coffee can be optimized individually.
Timeline: Develops as you gain experience
✓ Professional Technique
Non-pressurized baskets are industry standard. Skills learned apply to café equipment and advanced home setups.
Timeline: Ongoing refinement
✓ Visual Feedback
Bottomless portafilters reveal channeling and extraction issues. You learn to diagnose problems visually.
Timeline: Immediate visual learning
The Bottom Line
Upgrading from pressurized to non-pressurized baskets represents a significant milestone in your espresso journey. While the learning curve is real, the rewards—superior flavor, skill development, and customization potential—justify the investment for anyone serious about home espresso.
Most home baristas who successfully make this transition report that they would never return to pressurized baskets. The control and quality achievable with proper technique creates a more satisfying and rewarding espresso experience.