How-To
How to Make Espresso Without Machine
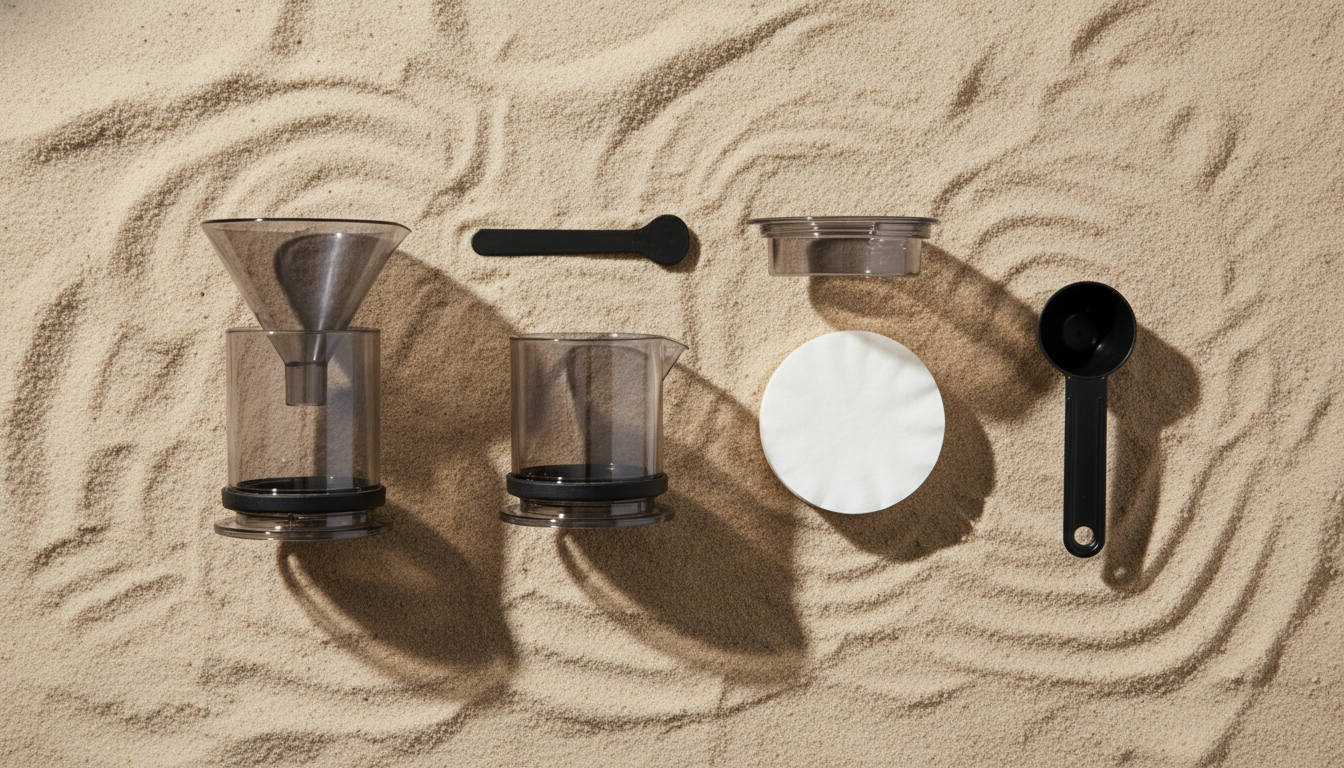
Step-by-step guide to making espresso-style coffee using alternative brewing methods.
⏱ 12 MIN READ
READ How-To →
A comprehensive guide to manual espresso makers, covering how they work, which models are best, step-by-step brewing instructions, and how they compare to electric espresso machines. Includes troubleshooting tips and buying guidance.
Manual espresso makers generate 9 bars of pressure through manual force, producing café-quality espresso without electricity.
Popular models include the Flair 58, Cafelat Robot, Rok, Presso, and Nanopresso. They're affordable ($69-179), portable, and durable. Manual makers require technique and effort, but produce excellent espresso equivalent to electric machines. If you are deciding between manual leverage and lower-cost electric options, compare this category with the best espresso machine under $200 guide and the AeroPress espresso guide.
🎯 Best for: Enthusiasts, travelers, and budget-conscious buyers who value portability and don't mind manual effort.
These five manual makers represent the best options across different budgets and preferences. All generate 9 bars of pressure and produce excellent espresso. For comparison with electric machines, see the best espresso machine under $200 guide.
Pressure
9 bars (manual)
Material
Stainless steel
Capacity
2.5 oz
Best For
Enthusiasts, travel
Pros
Portable, durable, excellent control
Cons: Requires technique, manual process
Pressure
9 bars (manual)
Material
Aluminum
Capacity
1.5 oz
Best For
Travel, minimalists
Pros
Compact, lightweight, portable
Cons: Small capacity, steep learning curve
Pressure
9 bars (manual)
Material
Aluminum/plastic
Capacity
1 oz
Best For
Beginners, travel
Pros
Affordable, portable, fun
Cons: Plastic components, limited durability
Pressure
9 bars (manual)
Material
Stainless steel
Capacity
2.5 oz
Best For
Quality-focused enthusiasts
Pros
Premium build, excellent espresso
Cons: Expensive, requires technique
Pressure
8 bars (manual)
Material
Plastic/metal
Capacity
1.35 oz
Best For
Budget travelers, beginners
Pros
Very affordable, portable, easy
Cons: Lower pressure, plastic durability
Follow these eight steps to brew excellent espresso with a manual maker. Each step builds on the previous one to create proper pressure and extraction. For detailed extraction information, see the espresso extraction yield guide. It also helps to cross-reference the espresso tamping technique guide, the espresso water temperature guide, and the espresso grind size chart.
Grind 17-18g of coffee to espresso-fine consistency. Use fresh beans roasted within 2-4 weeks. Grind immediately before brewing.
💡 Consistent grind size is critical for manual makers. Adjust grind finer or coarser based on taste feedback.
Heat water to 195-205°F (90-96°C). Boil water and let cool for 30-45 seconds, or use a thermometer to reach target temperature.
💡 Water temperature significantly impacts extraction. Cooler water (195°F) produces brighter coffee; hotter water (205°F) produces fuller body.
Follow manufacturer instructions to assemble your specific manual maker. Ensure all seals are properly seated. Pre-wet the basket with hot water.
💡 Proper assembly is critical for pressure generation. Check that all components are clean and dry before assembly.
Pour ground coffee into the basket. Use 17-18g for standard espresso. Level the grounds gently without pressing.
💡 Weigh coffee on a scale for consistency. More coffee produces stronger espresso; less coffee produces lighter espresso.
Tamp the coffee with consistent pressure. Use a level, even motion. Apply 30 pounds of pressure (about 1kg force).
💡 Consistent tamping is essential for proper pressure generation. Uneven tamping causes channeling and poor extraction.
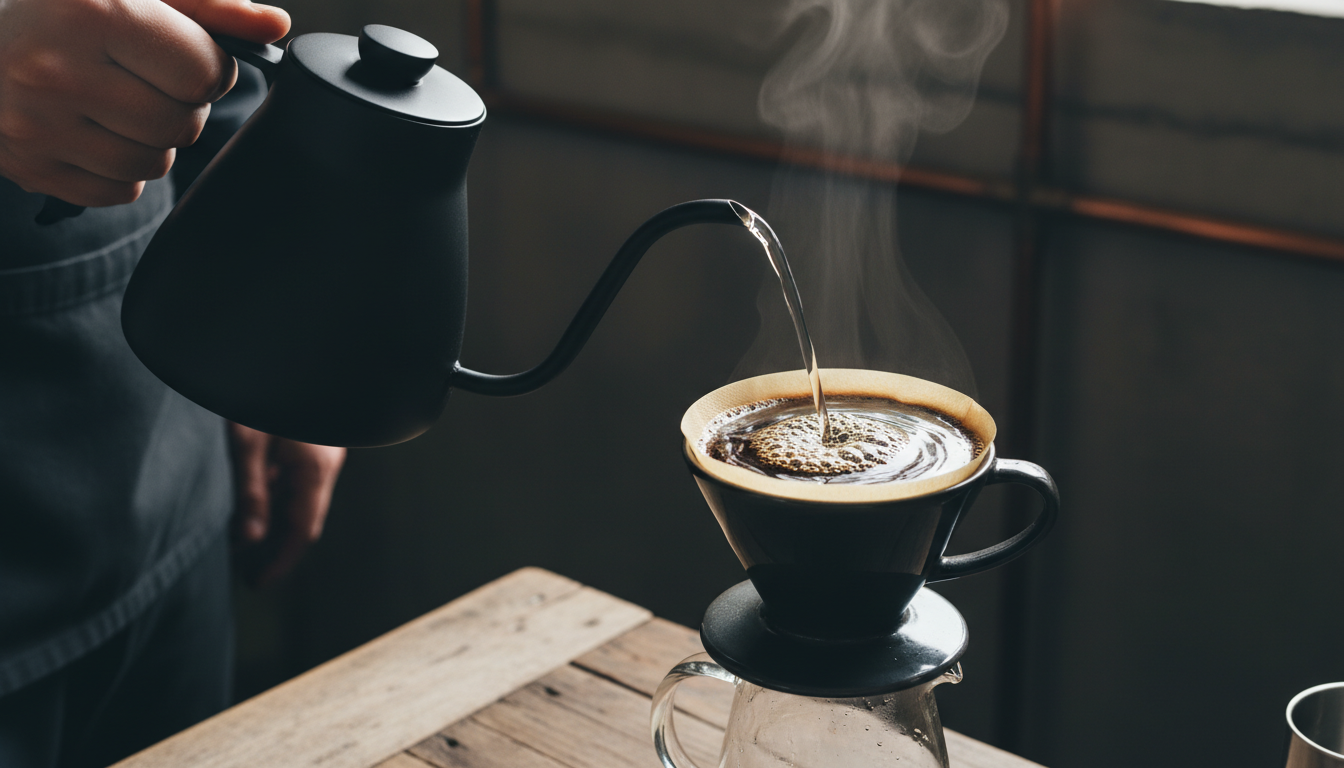
Pour hot water into the chamber. Fill to the fill line or according to manufacturer instructions. Water should be 195-205°F.
💡 Use a gooseneck kettle for precise pouring. Avoid splashing grounds. Water temperature consistency matters.
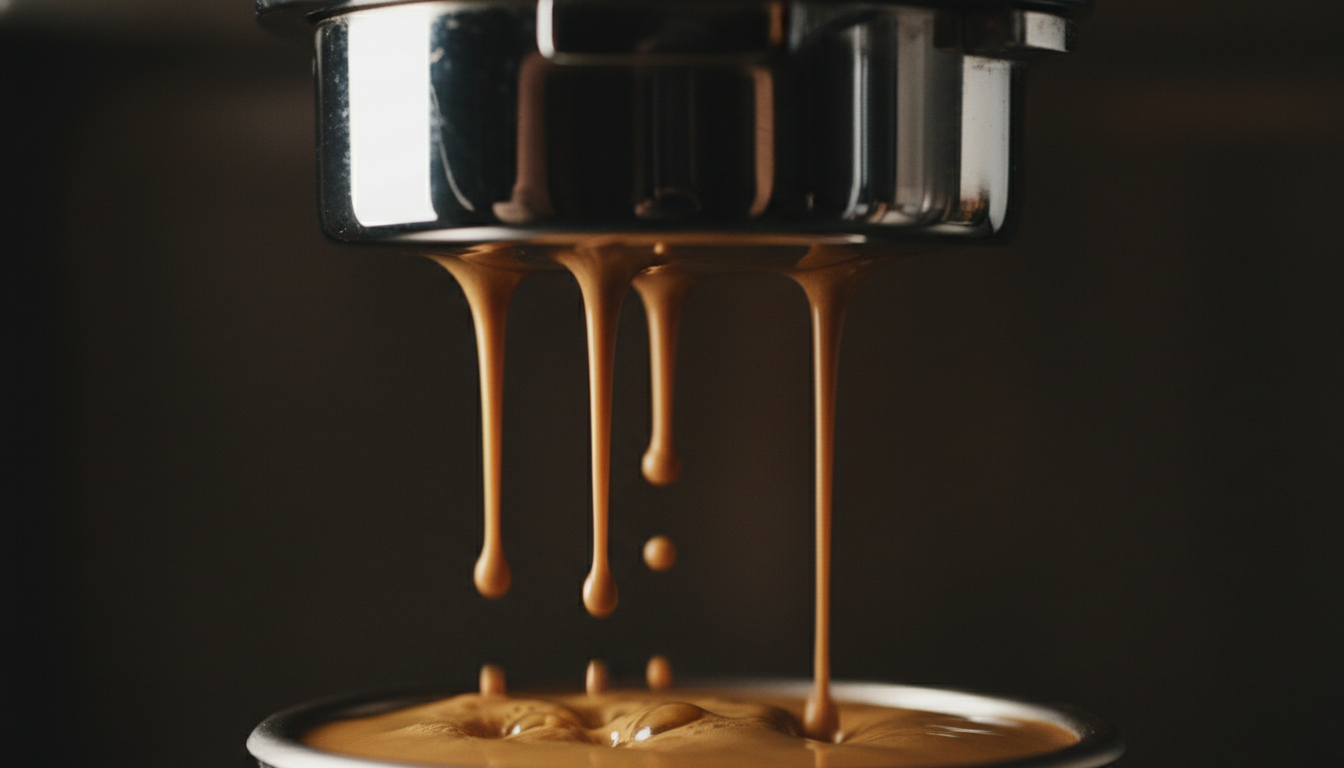
Apply downward pressure slowly and steadily. Most manual makers require 20-30 seconds of pressing. You should hear a hissing sound as espresso flows.
💡 Slow, steady pressure produces better extraction than fast pressing. Stop pressing when you hear a hissing sound; espresso is flowing.
Remove the manual maker from the cup. Serve espresso immediately while hot. Espresso is concentrated; dilute with hot water for Americano if desired.
💡 Serve immediately while espresso is hot. The brewed espresso is concentrated; adjust strength by diluting with water.
Manual makers and electric machines both produce excellent espresso, but differ in price, consistency, and ease of use. Choose based on your priorities and lifestyle. Buyers who care about portability and small-footprint setups should also review the best espresso machine for small kitchens guide and the guide to making espresso without a machine.
| Aspect | Manual Maker | Electric Machine | Advantage |
|---|---|---|---|
| Price | $69-179 | $149-600+ | Manual makers significantly cheaper |
| Pressure | 9 bars (manual) | 9+ bars (electric) | Equivalent pressure; manual requires technique |
| Espresso Quality | Excellent (with technique) | Excellent (consistent) | Manual makers produce excellent espresso |
| Portability | Highly portable | Not portable | Manual makers ideal for travel |
| Learning Curve | Steep (technique matters) | Moderate | Machines easier for beginners |
| Durability | Very durable (no electronics) | Durable (with maintenance) | Manual makers last indefinitely |
| Consistency | Variable (user-dependent) | Consistent (automated) | Machines more consistent |
When your manual espresso doesn't taste right, systematic adjustments to grind, pressure, or temperature fix the problem. Use taste feedback to guide your adjustments. The same flavor diagnosis framework used in the how to dial in espresso guide and the espresso shot anatomy guide applies here too.
Root Cause
Under-extraction (insufficient pressure or grind too coarse)
Solutions to Try
✓ More sweetness, fuller body, better balance
Root Cause
Over-extraction (too much pressure or grind too fine)
Solutions to Try
✓ Cleaner taste, less bitterness, brighter acidity
Root Cause
Channeling or insufficient tamping
Solutions to Try
✓ Consistent flow, proper extraction time
Root Cause
Over-packing or grind too fine
Solutions to Try
✓ Faster flow, proper extraction time
Root Cause
Inconsistent tamping or grind distribution
Solutions to Try
✓ Consistent extraction and flavor
Yes. Manual makers like the Flair 58 and Cafelat Robot generate 9 bars of pressure, equivalent to electric machines. With proper technique, they produce excellent espresso. The difference is that manual makers require more user skill and effort.
Yes, for enthusiasts and travelers. Manual makers are affordable ($69-179), portable, and durable. The learning curve is steep, but once mastered, they produce excellent espresso. For beginners, electric machines are easier.
The Nanopresso ($69-89) is the most affordable and easiest to use. The Flair 58 ($99-129) offers better build quality and control. For quality-focused beginners, the Cafelat Robot ($149-179) is the best option.
Very portable. Most manual makers weigh 1-2 pounds and fit in a backpack. The Nanopresso and Presso are especially compact. They're ideal for travel, camping, or office use.
No. Manual makers require only hot water and manual pressure. This makes them ideal for travel, camping, or situations without electricity. You need a way to heat water (kettle, camping stove, etc.).
Step-by-step guide to making espresso-style coffee using alternative brewing methods.
Step-by-step instructions for Aeropress Espresso, written for home baristas of all experience levels.

Top budget options for beginners and small kitchens.
Understanding espresso extraction yield and how it impacts shot quality.